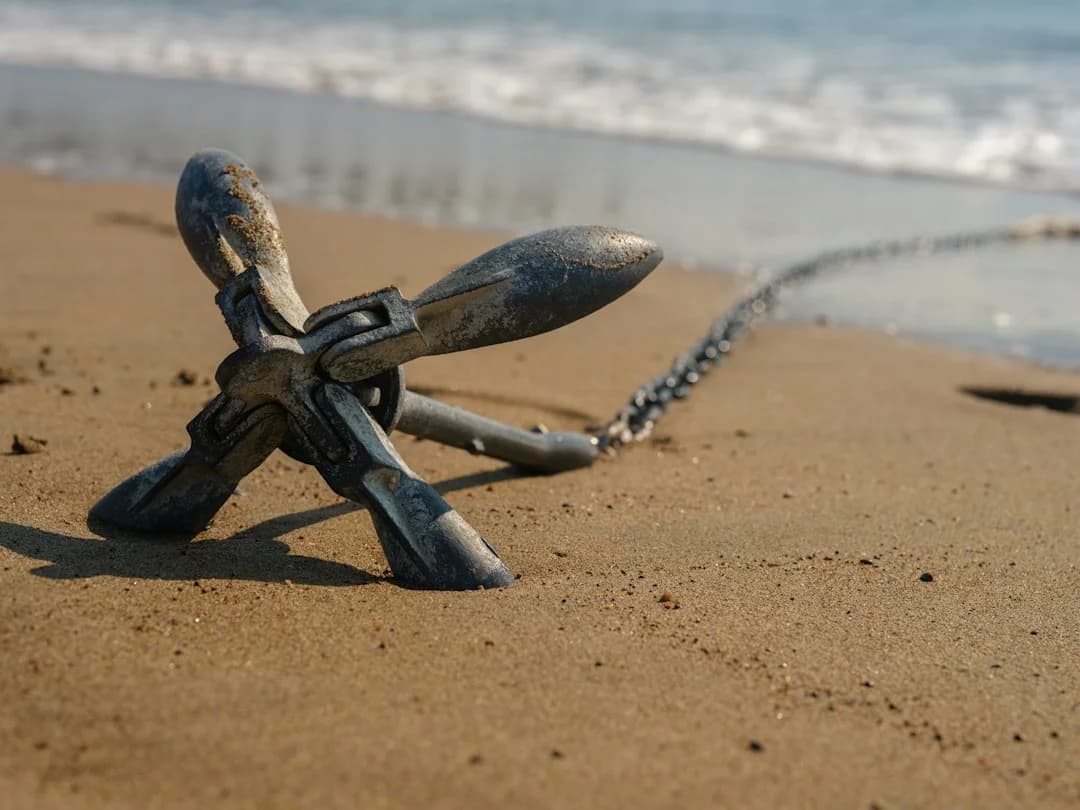
Stop a Boat Rocking at Anchor Overnight: A Guide
Sleep at anchor is rarely ruined by one big mistake. It’s usually death by a thousand small choices: anchoring behind the wrong point, short scope because “it’ll be fine,” a bar-tight chain humming through the bow roller, and an anchor alarm set to a fantasy radius that only works on a lake with no tide.
If you want to know how to stop a boat from rocking at anchor, start by naming the motion correctly. Rolling is mostly waves and wave period. Yawing is mostly wind and current. “Hunting” is the irritating oscillation that loads and unloads the rode until your boat feels like it’s doing sprints on a leash.
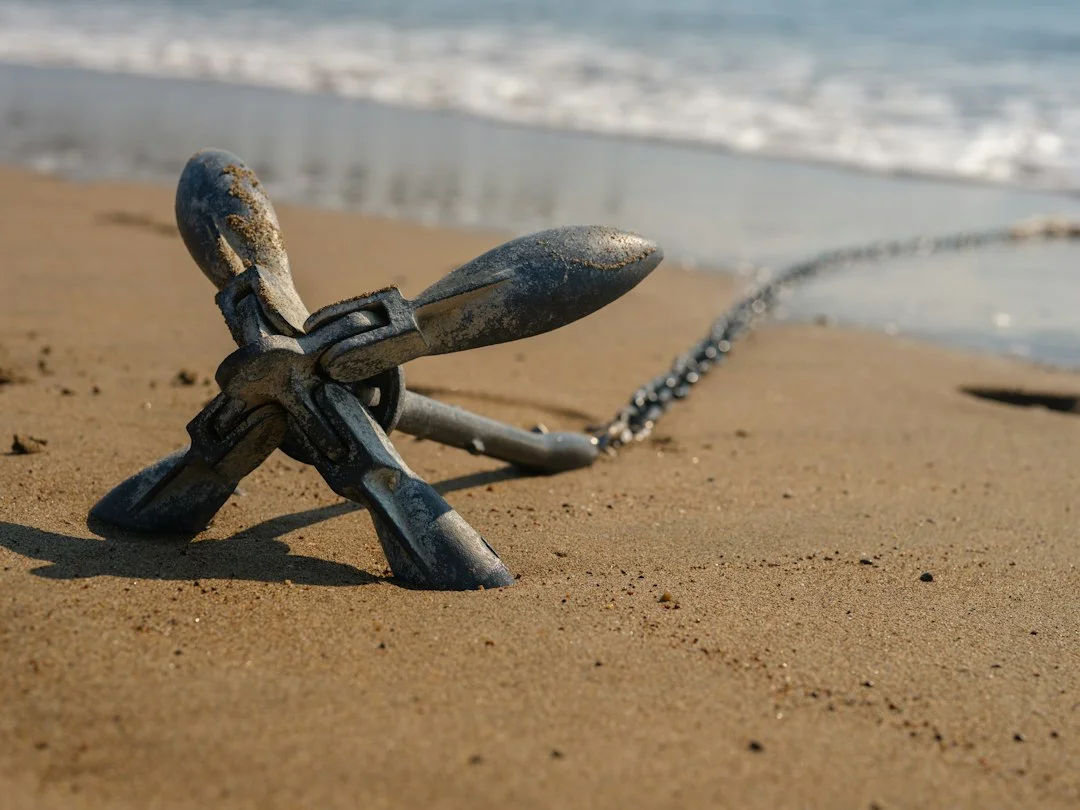
Photo by engin akyurt on Unsplash
Why Boats Rock at Anchor: Rolling vs Yawing vs “Hunting”
Field diagnosis: what motion are you actually feeling?
At 0200, every motion feels personal, but diagnosing it is straightforward. Rolling is side-to-side, usually synced with swell or chop, and it doesn’t care much where your bow is pointing. Yawing is your bow swinging left-right around the anchor, commonly 20–60° each cycle, driven by windage and underwater profile.
“Hunting” is yawing with attitude: quick heading swings every few seconds to minutes, followed by the rode going slack then snapping tight again. That snap (snatch load) is what wakes you, not always the motion itself. If the forecabin sounds like someone flicking a steel ruler on a desk, you’re hearing load cycles transmitted through the chain and bow roller.
How wave period and hull form drive comfort limits
Comfort at anchor is largely about fetch and wave period, not just wind speed. Short, steep chop (say a 3–5 second period) creates fast accelerations that toss you around, while a long swell (often 8–14 seconds) can create slower but bigger roll angles. The cruel part is that long swell can roll you even in 10–15 kn of breeze if the swell wraps into the anchorage.
Hull form matters. A beamy cruising cat often has less heel but can have sharper, jerkier motion when the bridles load/unload. A fin-keel monohull may roll more, but it can also “find a groove” if you stop it yawing across the waves every cycle.
Wind-against-current and the “sailing-at-anchor” cycle
Wind against current is where good naps go to die. The boat tries to point into the apparent wind, the underwater body wants to align with current, and you end up with repeated oscillations that yank the rode. Once you yaw beam-to the swell, you’ll roll more—even if the swell wasn’t terrible when you first dropped.
Use this simple decision tree. If motion correlates with swell direction and period, prioritize better shelter and orientation. If motion correlates with wind shifts or current reversals, prioritize bridle/lead angle, riding sail, and snubber elasticity. When sustained wind is forecast above 20–25 kn, plan ahead: more scope, better holding, or a different anchorage is usually cheaper than “toughing it out.”
Step 1 — Pick the Right Spot: Shelter, Bottom, and Swing Room
Comfort-first site selection: reduce swell energy before rigging tricks
If you can still see open water in the direction of the dominant swell, you’re not anchored in “shelter,” you’re anchored in “optimism.” Don’t choose a spot based only on forecast wind; choose it based on where the swell is actually coming from, and how long the fetch is. A 1–2 ft swell at 10 seconds can ruin sleep more reliably than a gusty 18 kn breeze in flat water.
Avoid reflected waves from cliffs, seawalls, and marinas. Reflected wave trains create a sloppy cross-sea that increases roll angle and makes timing unpredictable. Also watch acceleration zones near headlands and gap winds; a funnel that adds 5–10 kn locally will also increase yawing and rode load cycles.
Photo by Ian Keefe on Unsplash
Bottom type and set confidence: why holding quality affects sleep
Good sleep comes from confidence that the anchor is set and will stay that way. Sand and firm mud are generally friendly; heavy grass, thin sand over rock, and soupy mud are where anchors “set” until they don’t. If you’re seeing depth contours change quickly—say 10 ft to 25 ft over a short distance—you may also be near a bottom transition that encourages skipping or partial resets in a reversal.
This is where standards matter in the real world. ABYC H-40/H-41 aren’t bedtime reading, but the intent is clear: your anchoring loads must run into properly installed strong points, not into a windlass or a questionable cleat. If you’re routinely anchoring in marginal bottoms, the right “fix” is often a better spot, not more gadgets.
Swing-circle math for real-world anchoring (and alarms)
Swing room is not theoretical; it’s geometry. A workable estimate for swing radius is rode length (bow roller to anchor on seabed) + a boat-length allowance. With 100 ft of rode and a 35 ft LOA, you’re typically looking at about 110–135 ft of radius depending on where the anchor sets relative to the bow.
Use plotter range rings or measurement tools to confirm clearance from hazards and neighbors across the full tidal range. Give extra margin near cliffs and marinas where GPS accuracy can degrade due to multipath; I’ve seen “perfectly anchored” boats wander 10–20 m on the screen while the chain never moved. For route-style thinking, measure the distance from your swing circle edge to the nearest lee shore; calculate the distance between ports and nearby shorelines when you’re sanity-checking how close that shoreline really is, and how ugly it gets if you ever start dragging.
Practical tip: If you can’t draw a full swing circle with at least one extra boat length of clearance to hazards, it’s not a “tight anchorage.” It’s an anchor alarm waiting to happen.
Step 2 — Scope, Rode, and Snubbers: The Biggest Comfort Gain/$
Scope math with bow height: avoid under-scoping at night
Scope is not superstition; it’s geometry and load angle. The scope calculation must include bow height above the waterline, which is the part most folks forget when they’re tired and it’s getting dark. If you anchor in 12 ft and your bow roller is 4 ft above water, your working depth is 16 ft, not 12.
Here’s the basic math: scope = rode length ÷ (water depth + bow height). Using that example, 5:1 scope is 80 ft of rode, and 7:1 is 112 ft. In moderate conditions, many cruisers are comfortable at 5:1 on all-chain; when winds are sustained above 20–25 kn, or holding is questionable, 7:1 starts looking like cheap insurance.
Snubber selection and rigging for elasticity and noise reduction
If you want the biggest comfort improvement per dollar, rig a snubber correctly. A snubber adds nylon stretch, reduces snatch loads, and stops chain vibration from telegraphing into the forecabin. Nylon at around 20% of breaking strength can elongate roughly 6–10% depending on construction, which is exactly what you want when the boat surges.
For many 35–45 ft monohulls, a 1/2 in (12 mm) to 5/8 in (16 mm) nylon snubber in the 15–30 ft (4.5–9 m) range is a practical starting point. Use a proper chain hook, grab hook, or a rated soft shackle on the chain, then lead the snubber to strong points (port/starboard cleats if possible). Add chafe gear anywhere it touches a chock, toe rail, or bow roller.
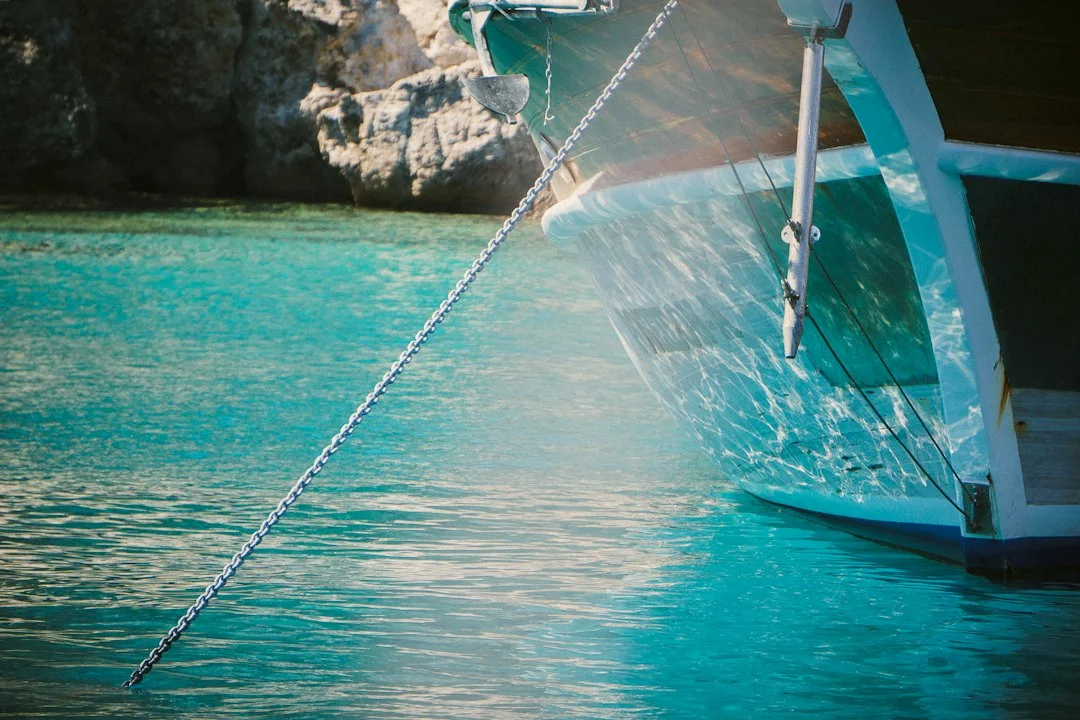
Photo by Matthew Wheeler on Unsplash
Keep enough length so the hook stays submerged in chop; if it’s skipping at the surface, it’s also snatching. Finally, ease the chain so it’s not bar-tight over the roller—let the snubber take the load, and your boat will instantly sound less like a hardware store.
Chain catenary in wind: what changes as it blows up
In light air, chain catenary acts like a spring by keeping some chain on the bottom. As the wind builds, the chain lifts and straightens, catenary disappears, and loads rise fast. That’s why boats feel fine at 12–15 kn and suddenly get noisy and jerky at 20+ kn, even with the same scope.
Chain size is part of the system. A 35 lb (~16 kg) anchor is commonly paired with 5/16 in (8 mm) chain on 30–40 ft boats, while 3/8 in (10 mm) becomes common as displacement and windage rise. Match your chain to the windlass gypsy and chain standard; a mismatched chain/gypsy combination can clunk, slip, and add excitement you didn’t ask for.
If you want a single “upgrade path” that works: proper scope first, then a properly rigged snubber, then consider bigger improvements. The snubber is also kinder to your hardware, which aligns with ABYC H-40 intent: loads should be carried by strong points, not by the windlass.
Step 3 — Reduce Yawing (and the Roll It Causes): Bridles & Riding Sails
Bridles and lead-angle changes: center the pull, calm the bow
Many fin-keel/spade-rudder monohulls “sail at anchor” because the bow gets blown off, the keel generates lift, and the boat accelerates across the wind until the rode checks it. Move the load lower and more centered, and the cycle often calms down immediately. Small lead-angle changes can make a big difference, which is why a bridle is such a powerful tool.
A simple bridle uses two legs to port and starboard cleats to center the pull and reduce side loading. Adjusting leg length can move the effective attachment point slightly aft and lower, reducing yaw amplitude. On cats, bridles are standard equipment, but the same logic helps monohulls; just be disciplined about chafe and cleat loading consistent with ABYC H-40 principles.
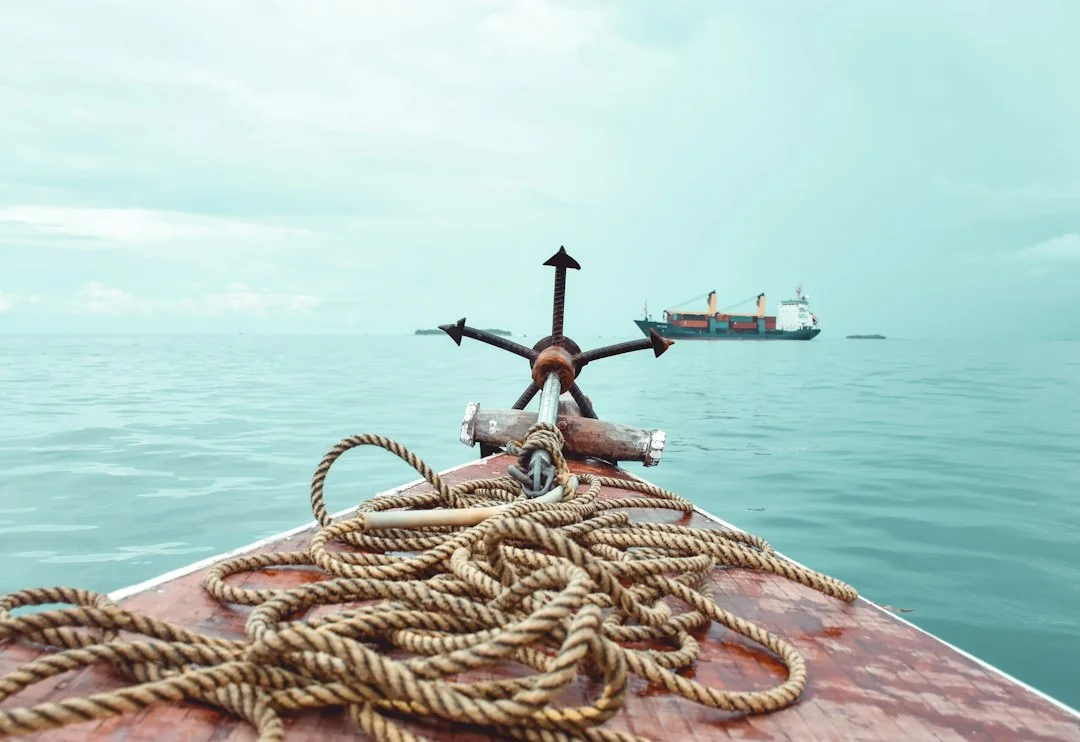
Photo by Nias Nyalada on Unsplash
Riding sails: what they fix (and what they don’t)
A riding sail doesn’t “stop rolling” directly; it reduces yawing. By damping yaw, it can indirectly reduce roll if your yaw was causing you to present the beam to swell every cycle. In steady winds with modest chop, riding sails can turn an all-night hobby-horse into a boat that points consistently.
Sizing is not mysterious. For a 30–40 ft monohull, a riding sail around 10–25 sq ft is typical, larger for heavier boats with more windage. Hoist it aft (often on the backstay) and sheet to the centerline; over-sheeting can actually induce oscillations and defeat the purpose.
Wind-against-current: tuning for reversals and oscillations
When wind is against current, hunting gets worse because the boat alternates between wind-driven and current-driven alignment. A bridle or a lower/aft attachment point can reduce the load/unload cycle amplitude, which reduces both jerks and anchor alarm drama. In real tidal reversals, expect heading swings to change character; what worked at slack may not work at max flood.
If you’re planning a longer overnight hop between anchorages, this is a good time to plan your route using a sea distance calculator to sanity-check how far the next sheltered cove really is—and whether it’s worth moving before dark instead of “fixing” a bad spot with rigging tricks.
Step 4 — Tame Snatch Loads & Noise: Kellets, Stoppers, and Chafe Control
Kellet/angel weight: where it works and where it disappoints
A kellet (angel weight) can help in moderate conditions by adding damping and keeping more rode in the water. Typical setups use 10–30 lb (4.5–13.5 kg) lowered 10–30 ft (3–9 m) down the rode, with a retrieval line back to the bow. In short chop, that extra weight can reduce jerkiness and make the boat’s motion feel less abrupt.
But don’t expect miracles once the breeze is up. As wind increases, the chain lifts, catenary reduces, and the kellet loses leverage; it’s not a replacement for scope or a snubber. Also, kellets don’t solve true swell-driven roll—if long-period swell is marching in, you need shelter or a different orientation.
Chain stoppers, bow rollers, and vibration isolation
If the chain is loaded on the windlass, you’re doing two things wrong: you’re risking the windlass, and you’re amplifying noise. A chain stopper or a properly set snubber takes the load off the windlass and reduces roller chatter. Many “my boat rocks all night” complaints are partly “my boat sounds like it’s being dismantled.”
Noise pathways are usually easy to identify. Chain bar-tight to the roller transmits vibration into the foredeck, then into bulkheads, then into your skull. Add a snubber, avoid bar-tight chain, and use chafe protection or isolation where the snubber contacts hard edges, and you’ll often cut the racket by half.
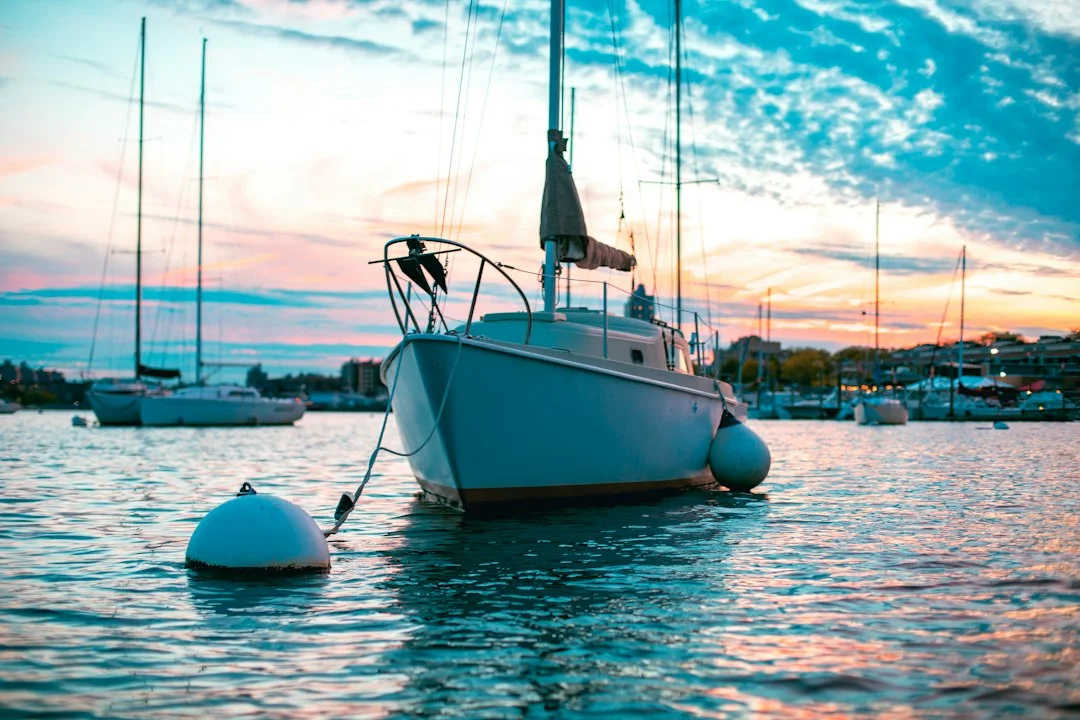
Photo by Johnny killroy on Unsplash
Chafe and hardware: protecting the system overnight
Chafe is not just a wear issue; it’s a failure mode at 0300. Use sacrificial chafe gear at chocks and fairleads, especially on multihulls where bridle loads can be higher and more dynamic. If a bridle squeaks or smokes, that’s not “character,” that’s line damage happening in real time.
Think in terms of load paths and fitting strength, which is the spirit of ABYC H-40/H-41. If you’re tempted to tie a snubber to a random bow eye or a stanchion base, don’t. Use proper cleats and backing, and treat any overnight setup as if it might see 25 kn unexpectedly—because it can.
Step 5 — Anchor Alarms Without False Positives: Radius, GPS Error, and Setup
Choose the alarm type: swing-radius vs drag-detection logic
Most anchor alarms are either swing-radius alarms (simple distance from a point) or drag-detection logic (movement over time, speed thresholds, or track analysis). Swing-radius alarms are predictable and easy to set, but they false-alarm if the radius is too small or GPS wanders. Drag-detection can be smarter, but only if the device filters noise well and you understand its thresholds.
I generally run a swing-radius alarm as the primary, with a second method (another device/app) as a cross-check. Redundancy is cheap now: a chartplotter plus a phone or tablet app costs less than one night of bad decisions. Just don’t let “two alarms” become “two sources of false panic.”
Anchor-alarm radius calculator: swing circle + GPS error buffer
Here’s the part most articles skip: your boat is supposed to move at anchor. GPS accuracy is often about 3–10 m under open sky, and radii smaller than about 30 m (~100 ft) commonly create nuisance alarms once you add swing and drift. Consumer alarms may allow 10–20 m radii, but in real anchorages that’s usually unrealistic.
Start with a swing-circle estimate. Approximate swing radius ≈ deployed rode length from bow to seabed anchor + a boat-length allowance; example: 100 ft rode and 35 ft LOA gives about 110–135 ft. Convert to meters if your alarm uses metric: 110 ft ≈ 34 m, 135 ft ≈ 41 m.
Then add a GPS buffer and your comfort buffer. A practical starting point for many anchorages is 30–50 m (100–165 ft), adjusted based on actual swing room and proximity to hazards. If your swing room is tight, don’t “fix” that with a tiny alarm radius; fix it by moving, shortening scope only if safe, or choosing another plan.
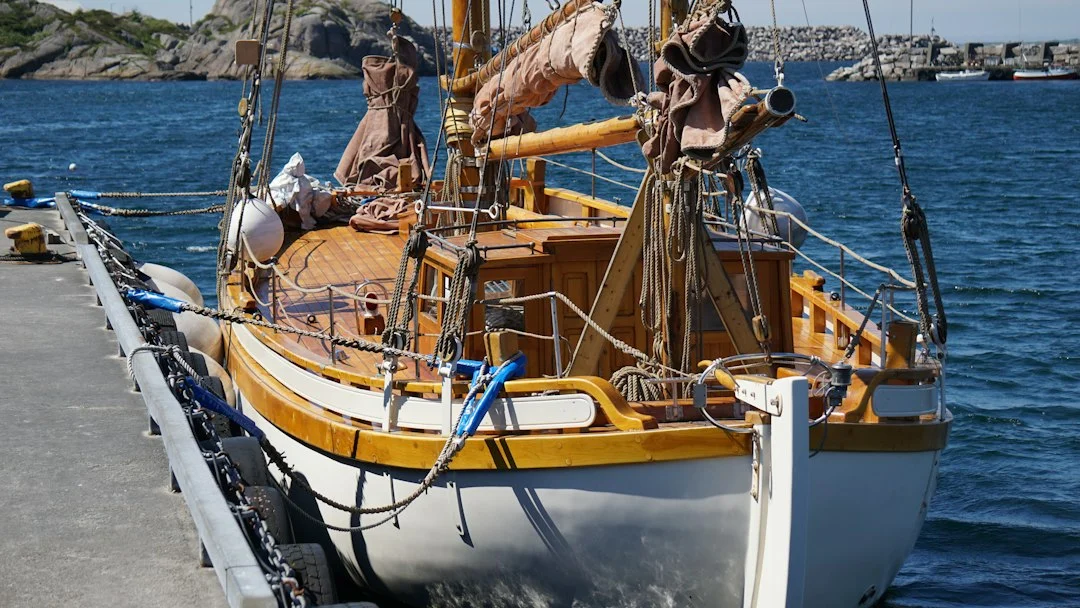
Photo by Cristian Soceanu on Unsplash
Reducing nuisance alerts: multipath, filters, and power management
False positives spike near cliffs, marinas, steep shorelines, and metal infrastructure because multipath reflections can make your position “jump.” If your device offers filtering, increase the averaging interval and avoid ultra-sensitive update rates that react to every GPS wiggle. If it offers a speed threshold for “drag,” set it above normal swinging speed so it triggers on real movement, not normal arc motion.
Set the anchor point correctly. Drop the anchor, back down to set it, then mark the anchor position at the set point (not after you’ve drifted around and made spaghetti on the plotter). Test-trigger your alarm before sleeping; if you can’t make it alarm intentionally, you can’t trust it at 0300.
Power reliability matters too. Keep overnight electronics on properly fused circuits and sane wiring per ABYC E-11 intent; sketchy USB leads near bedding are a fire hazard, not a convenience. For battery planning, remember an LED anchor light is typically 0.1–0.3 A at 12 V; over 10 hours that’s about 1–3 Ah, while a plotter or tablet can be far more significant.
If you’re planning passages between anchorages, estimate your fuel needs based on the voyage distance, but also for hazard thinking: how quickly you’d reach the lee shore if you did start dragging, and whether your alarm radius gives you meaningful reaction time.
Step 6 — When Comfort Still Fails: Stern Anchors, Second Anchors, and Alternatives
Stern anchor to reduce swing: when it helps (and when it’s risky)
A stern anchor controls orientation and swing; it does not remove swell energy. It can reduce rolling only if it keeps your bow consistently into the sea, preventing beam-on exposure. In settled weather with a steady swell direction, that can be a real comfort gain.
The risk is loss of ability to weathervane. If wind or current reverses, you can end up broadside to chop or with the stern taking waves, which can be uncomfortable and occasionally unsafe. Typical lightweight stern anchors for many monohulls are roughly 8–20 lb, often with 150–300 ft of rode, but the “right” size depends heavily on displacement and conditions.
Two-anchor setups: V, Bahamian, and tandem—use cases
Two-anchor rigs can control yaw and reduce swing, but they demand planning before dark. A V-set can limit yaw in a steady wind, a Bahamian moor can handle current reversals by letting you swing between two anchors, and a tandem setup can increase holding in a straight line. The problems are obvious: fouled rodes, crossed neighbors, and difficult retrieval at 0600 when you’d rather be drinking coffee.
Night handling also has a safety angle. Working foredeck in the dark, in motion, with lines under load is exactly how people go overboard, which is why ISO 15085 (MOB prevention and recovery) is worth taking seriously. If you’re going to deploy a second anchor, do it early, with headlamps, tethers if appropriate, and a clear retrieval plan.
Moorings and marina options: choosing sleep over ideology
There are nights when the best seamanship move is paying for sleep. A mooring in a protected basin, or even a marina slip, can be the right call when swell wraps in and no anchoring trick fixes it. Fatigue makes you sloppy the next day, and sloppy is expensive.
Here’s the real-world cost context for common comfort upgrades and alternatives:
| Option | Typical cost (USD) | What it helps most | When it’s not the answer |
|---|---|---|---|
| Snubber line + chafe gear | $40–$150 | Snatch loads, noise, hardware protection | Long-period swell roll |
| Anchor bridle kit | $80–$250 | Yaw reduction, centered load | Poor shelter / swell wrap |
| Riding sail | $250–$900 | Yaw damping in steady wind | Variable squalls, strong current shear |
| Kellet/angel weight | $50–$250 | Damping in moderate chop | Strong wind where chain straightens |
| Second/stern anchor + rode | $150–$600 | Orientation, reduced swing | Tidal reversals, crowded anchorages |
Night Checklist: Standards, Battery, Ventilation, and Anchor Watch
Compliance and visibility: COLREGS Rule 30 anchor lights
Rule 30 of the USCG Navigation Rules (COLREGS) requires an anchored vessel to show an all-round white light where it can best be seen. Practically, it needs to be visible 360°, not hidden by a bimini, radar reflector, or a poorly placed solar panel. Many LED anchor lights draw about 0.1–0.3 A at 12 V, which is roughly 1–3 Ah over 10 hours, so battery impact is usually modest.
Check glare too. A bright anchor light reflecting off a white foredeck can light up your cabin like a supermarket parking lot. A small shield or better mounting height can preserve night vision without compromising visibility.
Electrical reliability overnight: E-11-minded practices
If you’re running a plotter, tablet, AIS, or a dedicated GPS all night for anchor alarms, treat the wiring like it matters—because it does. ABYC E-11 principles boil down to proper circuit protection, strain relief, and avoiding overheated connectors. A tablet charging on a cheap cable under a pillow is a bad plan with excellent odds of eventually becoming an incident report.
Keep the setup simple: one primary alarm device on ship’s power, one backup alarm on an internal battery, and both tested before you turn in. If either device is known for overnight shutdowns or overheating, don’t pretend it will behave better tonight.
Practical anchor watch: what to log and when to re-check
The first 30–60 minutes after setting is when you learn whether you’ll sleep. Recheck bearings, note the depth trend through the tide, and confirm the snubber is taking load with chafe gear correctly positioned. If conditions are stable, re-check at least once around the next predicted wind shift or tidal change.
A simple comfort log prevents mental spirals: time, depth/tide, wind, scope, alarm radius, and nearest hazard distance. Use your plotter measurement tools, or Breezada’s sea distance calculator when you’re thinking in “how far to that shoreline if things go wrong” terms, not just “it looks close.”
Practical tip: If you wake up, don’t guess. Look at the track line, check the snubber, confirm the light, and go back to sleep—or move before you start making poor decisions.
Frequently Asked Questions
How do I calculate an anchor-alarm radius using scope, bow height, and swing-circle geometry (including a GPS error buffer)?
Calculate scope using total depth: water depth + bow height. Then estimate swing radius as roughly (deployed rode length from bow to seabed anchor) + an allowance up to about a boat length; with 100 ft rode and 35 ft LOA, expect 110–135 ft (34–41 m). Add GPS error (~3–10 m) plus a small comfort buffer; in practice 30–50 m (100–165 ft) is a common starting range, then refine based on available swing room and hazard proximity.
Why does my anchor alarm false-positive more near cliffs, marinas, or steep shorelines, and which device settings reduce multipath-triggered drift?
GPS multipath reflections off cliffs, buildings, and metal infrastructure can make your reported position “jump” even while the boat is stationary. Use a larger radius (often ≥30 m) and enable position averaging/filtering if your device allows it. Reduce ultra-frequent update intervals, and if you have drag logic, set speed/track thresholds above normal swinging movement so it doesn’t interpret GPS jitter as dragging.
For a 35–45 ft monohull on all-chain, what snubber diameter and length best reduce snatch loads without overloading bow cleats (per ABYC H-40 intent)?
A practical starting point is 1/2 in (12 mm) nylon for lighter 35–40 ft boats and 5/8 in (16 mm) for heavier 40–45 ft boats, with 15–30 ft (4.5–9 m) length. Lead it to properly installed cleats or strong points (not the windlass), use chafe gear at chocks, and keep enough length that the chain hook stays submerged in chop. That approach aligns with ABYC H-40 intent: correct load paths onto strong points and reduced shock loading.
At what wind speed does chain catenary mostly disappear, and how should that change my overnight scope and alarm radius expectations?
There’s no single magic number because displacement, chain size, and fetch matter, but many boats feel the change as sustained wind builds toward ~20–25 kn. As the chain straightens, loads increase sharply and the boat may hunt more, so you should expect larger swing excursions and more snatch unless you add scope and a snubber. Practically, plan for 7:1 in stronger winds or poor holding, and don’t try to run a tiny anchor-alarm radius when the boat is legitimately swinging wider.
How should I rig a bridle to reduce yawing at anchor without creating chafe at chocks or dangerous side-loads on a single cleat?
Use two bridle legs led to port and starboard cleats to center the pull and share loads, then connect to the chain with a proper hook or rated soft shackle. Adjust leg lengths so the effective attachment point is centered and slightly aft/lower than the bow roller, and add chafe gear where lines pass through chocks. Avoid loading a single cleat sideways, and inspect the whole load path with ABYC H-40 intent in mind—strong points, proper backing, and no sharp leads that will saw through nylon overnight.
About the Author
Related Articles

Bahamian Moor Guide: Tandem Anchors & Snubbers
Learn bahamian moor setup, tandem anchoring, and proper snubbers for crowded anchorages. Get step-by-step tips—read and rig it right.
By Breezada Team
Best Radar Reflector for Sailboat: Active vs Passive
Compare active vs passive radar reflectors for sailboats, mounting tips, and real-world results. Choose the best radar reflector—read now.
By Breezada Team
Sail Trim for Beginners: Main + Jib Cruising Guide
Learn sail trim for beginners with simple main + jib settings, telltales, twist, traveler & vang. Get quick wind-based trims—read now.
By Breezada Team
Sailboat Bimini Guide: Dodger & Enclosure Choices
Learn how to choose a sailboat bimini, dodger & cockpit enclosure—materials, fit, costs, and DIY vs pro. Get the right setup today.
By Breezada Team