
Service a Sailboat Winch: Strip, Clean, Grease, Rebuild
Winches are simple machines with unforgiving manners: treat them right and they’ll haul all day, ignore them and they’ll pick the worst possible moment to slip, seize, or sound like a pepper grinder full of sand. Proper sailboat winch service is mostly about discipline—keeping 20–60 small parts in order, using the right solvent, and obeying the one rule that matters: pawls get oil, not grease.

Photo by James Coleman on Unsplash
Winch Anatomy & Brand Differences (Lewmar/Harken/Andersen)
Core assemblies: drum, center shaft, gear stack, pawls
A winch’s load path is straightforward: line wraps the drum, the drum drives a gear train, and the ratchet/pawl system acts as a one‑way clutch so the drum can’t backwind under sheet load. That pawl/ratchet interface is safety‑critical—if it skips, you can lose a loaded sheet in a heartbeat. On most cruising winches you’ll handle 20–60 parts in a full strip: gears, thrust washers, needle bearings, circlips, pawls, and springs.
The “business end” you can’t see is usually the pawl pocket and ratchet face, where a pawl tip the size of a fingernail holds loads generated by a #30–#50 sheet winch. Bigger boats commonly push into #50–#65+ for primaries, mainsheet, or high‑load control winches, and that typically means more bearings and spacers. More parts equals more opportunities to put one washer in upside down and spend your afternoon learning humility.
Two-speed and self-tailing mechanisms: what changes in service
Two-speed winches add a nested gear arrangement and usually extra thrust surfaces, so you’ll see additional washers, bearing cages, and at least one more circlip. Self-tailing adds the topworks: stripper arm, feeder/guide, jaws, top cap, and often small bushings or bearings that love collecting old grease. Servicing a self-tailer is still the same basic job—strip, clean, inspect, lube, rebuild—but there are simply more places for contamination to hide.
Handle interfaces are commonly the 10 mm socket standard, and typical handles run 200–250 mm (8–10 in) long. If you still use a non-locking handle on a busy cockpit, keep a spare—gravity and waves are undefeated. The self-tailing jaws themselves are not “lubrication targets”; their gripping faces should stay clean and dry, because sheets and grease are a terrible couple.
Materials and corrosion behavior: chromed bronze, aluminum, stainless
Lewmar, Harken, and Andersen all build excellent winches, but materials and internal geometry differ enough that you should pull the parts diagram before you start. Chromed bronze drums wear differently than anodized aluminum, and the wear tells a story: chrome flaking or deep scoring suggests grit and neglect; dull anodizing with light polish marks can be normal. Stainless pieces resist rust but will still pit if salt lives in crevices long enough.
Andersen’s stainless drums are tough and handsome, but they still need cleaning because salt crystals don’t care about your finish. Harken often uses well-finished bearing arrangements that feel “buttery” when clean—until contaminated grease turns into grinding paste. Lewmar’s layouts are very serviceable, but the self-tailer topworks can hide grime in places you won’t see until you strip it.
Tip: Treat organization like seamanship. Lay parts left‑to‑right in removal order, take a photo at every layer, and don’t “just remember” where that thin washer came from.
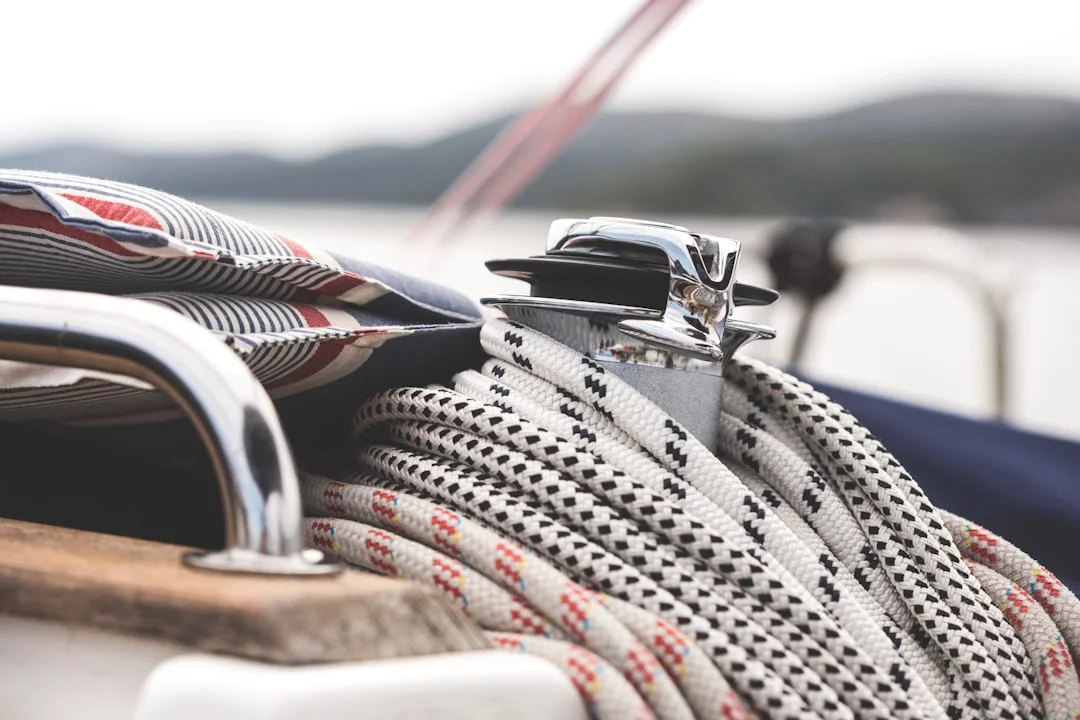
Photo by Milada Vigerova on Unsplash
Maintenance Schedule, Symptoms & Pre-Service Safety Setup
Intervals: annual full service vs mid-season rinse/inspection
Most major winch manufacturers effectively converge on the same guidance: full strip/clean/lube at least every 12 months, and more often with heavy use, tropical salt, or frequent green water. In the real world, a boat living on a mooring with salty spray and rain cycles benefits from a 3–6 month rinse/inspection cadence. If you race hard, grind often, or cruise in warm salt, annual service is the minimum, not the goal.
I also service after any passage where the cockpit got pooped or the winches were submerged in spray for hours. Saltwater intrusion followed by drying creates salt crystals that behave like abrasive dust. A freshwater rinse after salty days buys time, but it doesn’t replace a strip-down when the grease is old.
Symptoms that map to internal faults (stiffness, skipping, backwinding)
Stiff rotation usually means old grease plus salt crystals, or a thrust bearing that’s started to pit. Grinding suggests contamination in needle bearings or a damaged race—if it feels gritty by hand with no load, it won’t improve under load. Skipping or backwinding is the red flag: it often points to pawls or springs, wrong lubricant on pawls, or a pawl installed backward.
After service, the classic four self-inflicted failures are (1) reversed pawls, (2) missing or unseated springs, (3) grease on pawls, and (4) incorrect gear stack order. If you remember nothing else, remember those four. They account for most “my winch slips now” dockside confessions.
On-deck safety and containment: preventing lost springs and overboard tools
Winch service is cockpit work, and cockpit work means slips happen. ABYC H-3 (handholds/rails) and H-41 (handholds and safe movement concepts) aren’t winch standards, but the message is relevant: stable stance, good handholds, and no hero moves. Do this at the dock or calm anchorage, not while bashing upwind unless you enjoy donating circlips to Neptune.
Use a tray and a towel as a “clean bench on deck,” and don’t work over scuppers. Pawl springs are tiny—often 0.3–0.6 mm wire—and they launch like they’re late for a flight. A magnet pickup tool won’t help with stainless springs, but it will save you from the circlip you’ll drop exactly once.

Photo by Pawel Kadysz on Unsplash
Tools, Lubes & Consumables: The Correct Winch Service Kit
Essential tools for strip-down and circlips (snap-ring pliers, picks)
You can service many winches with basic hand tools, but a few items turn frustration into a routine. Bring snap‑ring (circlip) pliers in a sensible size ($15–$50), a small pick or dental tool, and a nylon brush that won’t shed metal into bearings. Add a screwdriver/hex set that matches your model’s fasteners, plus a small torque wrench if you’re removing the winch base or top screws that specify light torque.
A parts tray with compartments is worth more than another fancy grease. I also like painter’s tape for labels and a permanent marker, because “that washer goes somewhere” is not a strategy. A decent locking winch handle ($45–$180) reduces accidental ejection and the collateral damage that follows.
Solvents and cleaners: what’s safe for plastics and seals
For cleaning, mineral spirits or kerosene are the common, conservative choices, typically $10–$25 per quart/liter. They soften caked grease without attacking many plastics, but don’t soak plastic self-tailer components for hours out of habit. For metal parts with heavy buildup, a 10–30 minute soak is usually enough, followed by brushing and wipe-down.
Avoid chlorinated solvents and aggressive degreasers when your winch has plastic bearing cages, seals, or self-tailer tops. They can embrittle plastics and swell certain elastomers, turning “service” into “parts order.” If you want to be boring and correct, follow the winch maker’s manual for solvent compatibility.
Lubricants by component: grease map vs pawl oil rules
Winch grease is cheap insurance—$12–$30 for a small tube—and you only need a thin coat on gear teeth and bearing surfaces. Pawls and springs get light oil only, often sold as pawl oil ($8–$20). If you grease pawls, they can stick, delay engagement, and then your winch backwinds under load at the exact moment your crewmate’s knuckles are nearby.
Self-tailer jaw faces should stay clean and dry. If the manual specifies lubrication for a jaw pivot, use the minimum and keep it off the gripping surfaces. When you’re shopping, a model-specific Lewmar winch service kit or equivalent typically runs $25–$90, and it’s often smarter than trying to reuse tired springs.
| Item | Typical cost (USD) | Notes |
|---|---|---|
| Winch grease (50–100 g) | $12–$30 | Thin coat on gears/bearings only |
| Pawl oil (100–250 ml) | $8–$20 | Oil film on pawls/springs |
| Mineral spirits/kerosene (1 qt/1 L) | $10–$25 | 10–30 min soak for metal parts |
| Snap-ring pliers | $15–$50 | Makes circlips a 30-second job |
| Service kit (model-specific) | $25–$90 | Pawls/springs/small parts |
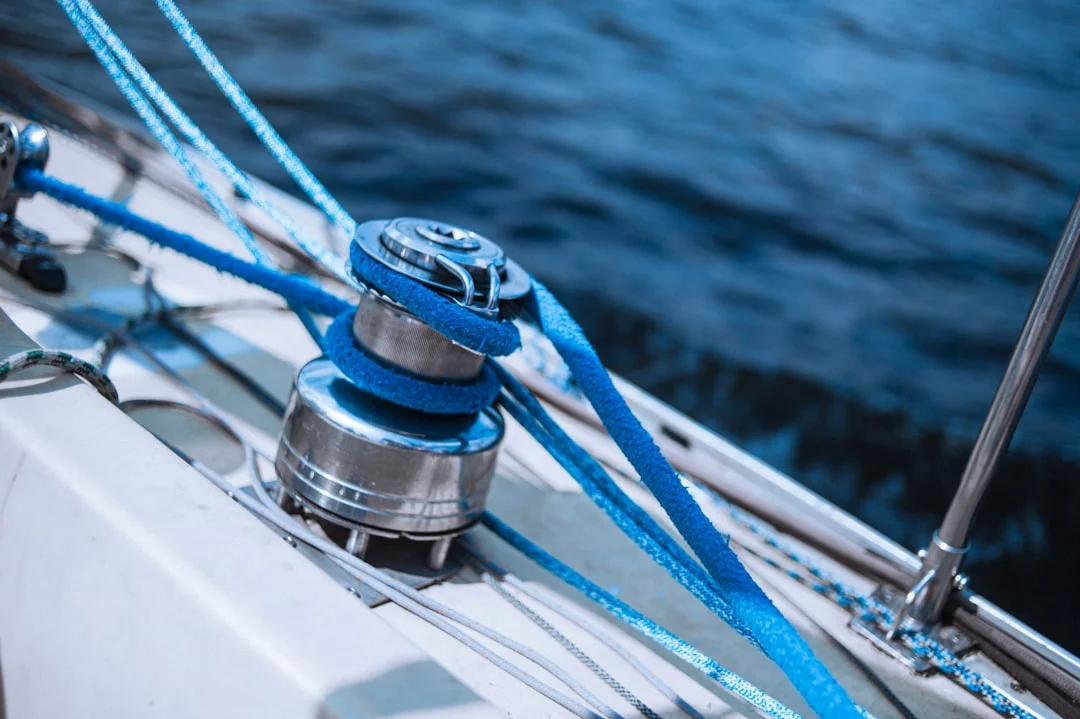
Photo by Egor Myznik on Unsplash
Strip-Down (Disassembly) Step-by-Step for Self-Tailing Winches
Documenting the stack: photos, diagrams, and left-to-right part layout
Start by identifying the exact model—brand, size number, and whether it’s right‑hand or left‑hand configured. Pull the sailboat winch parts diagram before you loosen anything, because “similar” winches can hide different bearing stacks. I take photos at every layer, then lay parts left‑to‑right in removal order, with thrust washers oriented exactly as removed.
Expect 20–60 pieces depending on a two-speed self-tailer’s complexity. The people who struggle aren’t usually short on tools; they’re short on organization. If you have multiple winches, do them one at a time—mixing parts between a pair of #46s is an easy way to invent new problems.
Drum and top assembly removal: stripper arm, self-tailer, center shaft
Remove the top cap and any retaining screw or circlip, then lift the drum straight up. Go slowly because some winches have loose needle bearings or thrust washers that can stick to the drum, then drop like toast landing butter-side down. Remove the stripper arm and self-tailing topworks as your diagram indicates, and keep those components separate from the gear train parts.
If the winch is stubborn, don’t pry with a screwdriver against the deck. Gentle upward pressure while rotating the drum usually breaks the suction of old grease. If you’re tempted to use force, you’re probably missing a retainer—stop and re-check the diagram.
Gear train and pawls: controlled removal to protect springs and circlips
With the drum off, you’ll usually see the center shaft and the gear stack retained by circlips and washers. Remove one layer at a time, taking a photo before and after each circlip comes off. Use snap-ring pliers, not a flathead and prayer, unless you like watching a circlip arc into low Earth orbit.
Pawls and springs are the “don’t sneeze” moment. Work over a tray, put a towel around the parts as a windbreak, and use a pick to lift pawls carefully. Pawl lengths are often 10–20 mm, and springs are light wire—easy to deform, easier to lose.
If you’re servicing away from home, plan it like a short passage: count winches, estimate 30–60 minutes each for routine work or 1.5–3 hours each if it’s your first strip. Before leaving a remote anchorage, plan your route using a tool to calculate the distance between ports and decide whether to carry extra pawls, springs, and circlips. “Distance to parts” matters as much as “distance to land.”
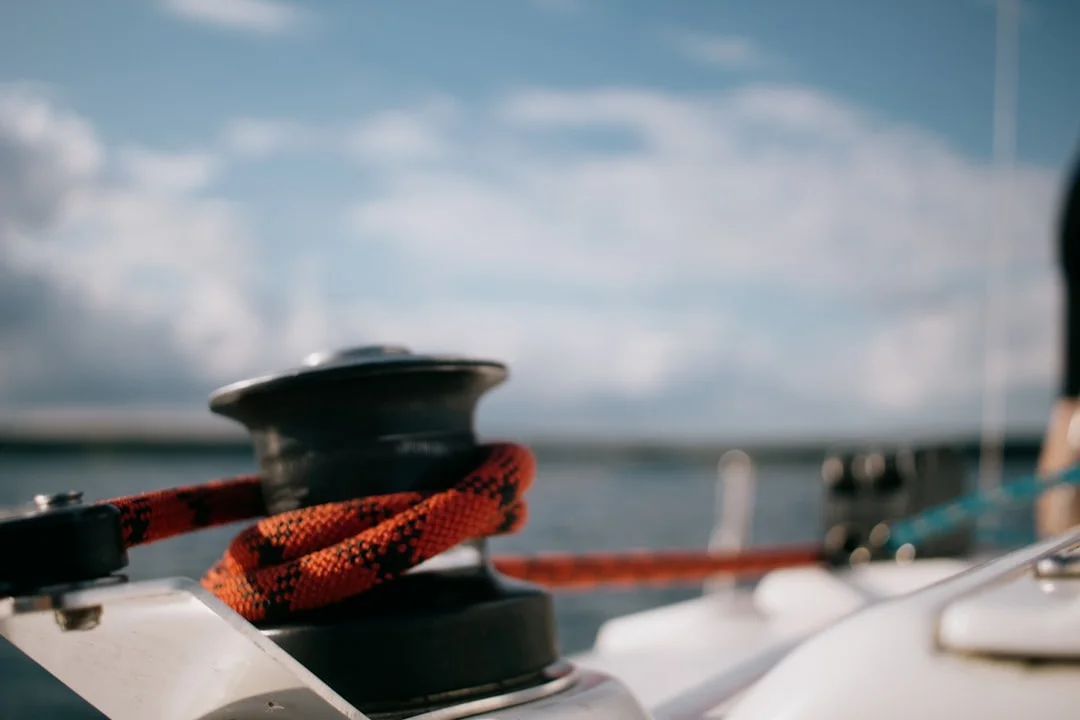
Photo by Alexander Voronov on Unsplash
Cleaning & Inspection: Replace-or-Reuse Criteria (Gears, Bearings, Pawls)
De-greasing and salt removal: methods that don’t damage parts
Start by scraping bulk grease with a plastic scraper or rag to keep your solvent from turning into black soup immediately. Metal parts can soak in mineral spirits or kerosene for 10–30 minutes, then get brushed with nylon and wiped clean. Rinse with clean solvent, then dry completely—solvent trapped in a bearing pocket dilutes fresh grease and invites corrosion.
Keep plastic self-tailer components out of prolonged solvent baths. A wipe-down with solvent on a rag is usually enough, followed by a mild soap-and-water rinse and full dry. Salt corrosion prevention is boring but effective: regular freshwater rinses after salty sailing reduce crystal buildup that turns grease into abrasive paste.
Inspection standards: pawl tips, ratchet faces, gear teeth, bearings
Inspect pawls first, because they’re small and decisive. A good pawl pivots freely and snaps back under spring tension with a crisp click; any sluggishness is a problem you must solve, not “grease away.” Look for chipped pawl tips, burrs, and springs that have lost shape or tension—replace as a set when in doubt.
Gears should have clean tooth edges without rounding or hooking. Slight polish is fine; sharp burrs, missing material, or obvious rounding suggests misalignment, overload, or years of dirty grease. Bearings—needle rollers and thrust bearings—should roll smoothly without gritty feel; rust staining is a warning, and pitting or brinelling is a replacement decision.
Needle rollers are often in the 8–12 mm length range (varies by winch size), and they don’t forgive corrosion. If you feel “indexing” or flat spots under finger pressure, that’s brinelling and it won’t get better with new grease. Replace suspect bearings rather than gambling—bearings are typically $30–$200, which is cheaper than a damaged gear stack.
Self-tailer jaws and stripper arm: grip preservation and contamination removal
Self-tailer jaws get glazed with salt, sunscreen, and old line fuzz, and that reduces grip. Clean them thoroughly, but don’t polish away the bite by attacking them with aggressive abrasives. A stiff nylon brush, mild cleaner, and patience usually restore function, and you want jaw faces free of oil and grease afterward.
Check jaw movement and spring tension, and confirm the stripper arm isn’t bent or loose. A jaw kit can run $40–$180, so it pays to keep the gripping surfaces clean and the pivot points only lightly lubricated if the manual specifies it. If your line slips in the self-tailer but the winch holds direction, the issue is often jaw contamination, not pawls.
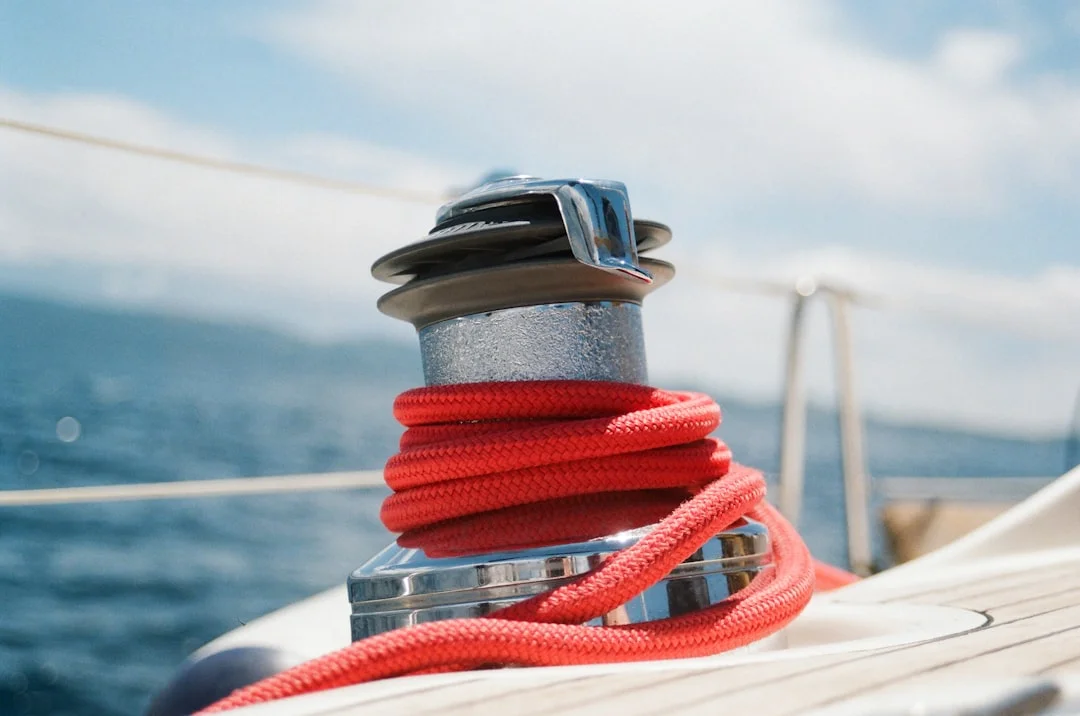
Photo by Barbare Kacharava on Unsplash
Grease vs Oil: A Component-by-Component Lubrication Plan
The ‘grease map’: where a thin coat works—and where it fails
Here’s the rule set I follow on Lewmar, Harken, and Andersen unless the manual explicitly says otherwise. Apply a thin, even coat of winch grease on gear teeth, bearing races, and thrust surfaces, then wipe off excess so it doesn’t migrate. Grease is not a filler; it’s a film, and extra grease just traps grit and becomes grinding compound.
Do not pack the winch like a wheel bearing on a trailer. Winches live on deck where salt and dust arrive by invitation, so over-greasing shortens service life. If you can see blobs, you used too much.
Pawls and springs: why oil only prevents backwinding
Pawls must flick in and out instantly, and grease can create stiction—especially in cold weather or after grease thickens with age. That’s how you get the classic “it worked at the dock” service failure: under real sheet load, pawls hesitate, then the winch slips and backwinds. Oil provides a light film and corrosion protection without slowing the pawl’s movement.
Use pawl oil or light machine oil, and apply it sparingly—an oil film, not a bath. After oiling, physically test each pawl: press it into its pocket and release it, confirming it snaps back crisply. If the click isn’t confident, fix it before the winch goes back together.
Brand-specific cautions: sealed bearings, jaw pivots, and over-lube traps
Some models incorporate sealed bearings or plastic cages, and those can be harmed by solvent abuse or heavy grease packing. Respect the diagram and don’t assume every shiny ring is a grease target. On self-tailing tops, lubricate pivots only if specified, and keep the jaw faces clean and dry so they grip properly.
After lubrication but before full reassembly, do a quick feel test: gears should spin smoothly with light drag from grease, pawls should click, and the two-speed shift should feel distinct. If it’s mushy, gritty, or ambiguous, something is wrong—usually excess grease in the wrong place or a washer mis-seated.
Tip: If you remember one phrase for winch grease vs oil, make it this: oil moves, grease stays. Pawls need to move.
Reassembly, Function Tests & Troubleshooting After Service
Reassembly order control: gears, thrust washers, and circlips
Reassembly is just disassembly in reverse, but only if your parts stayed in order. Confirm every thrust washer orientation, every bearing cage direction, and that circlips fully seat in their grooves. With 20–60 parts in play, a single upside-down washer can cause stiffness that feels like a seized bearing.
As you rebuild the gear stack, rotate components by hand to confirm they settle correctly. If something doesn’t drop into place under light finger pressure, don’t force it—back up and check the diagram/photo. For self-tailing tops, keep the line path and jaw faces clean and oil-free during reassembly.
Bench tests: rotation direction, two-speed shift, and pawl engagement
Before you sail, test the winch unloaded. Rotate the drum both directions and confirm it locks in the correct direction with clear clicking. Shift between speeds; you should feel a distinct ratio change, not a vague difference that could indicate a gear stack error.
Then do a light-load test on the boat with a sheet, building from hand tension to moderate load. Listen for consistent clicking and feel for any skip. If you serviced at a remote dock, this is where you learn whether you’re relaxing tonight or opening the tray again.
Troubleshooting symptoms to root causes (table replaces prose)
| Symptom | Likely cause | Inspection point | Fix |
|---|---|---|---|
| Backwinding / slipping under load | Pawls greased and sticking | Pawl pockets, pawl pivot action | Clean pawls, remove grease, re-oil lightly |
| Backwinding / no click | Missing or unseated pawl spring | Spring position, tension, deformation | Replace spring (often as pawl/spring set) |
| Locks in wrong direction | Pawl installed reversed | Pawl orientation vs ratchet gear | Reinstall pawl correctly; verify by hand test |
| Stiff rotation | Wrong stack order / washer flipped | Thrust washer orientation, gear nesting | Rebuild stack per diagram/photos |
| Grinding / gritty feel | Bearing contamination or pitting | Needle/thrust bearings and races | Clean; replace bearings if pitted/brinelled |
| Self-tailer won’t grip | Jaw glazing/grease contamination | Jaw faces, feeder/stripper area | Clean jaws, keep faces dry; replace jaw kit if worn |
Service Kit vs Full Rebuild vs Replacement (Plus Re-Bedding Triggers)
When a service kit is enough (pawls/springs, small parts)
A service kit is the right call when the winch basically works but shows classic wear: tired springs, slightly burred pawls, or missing small parts from previous “creative servicing.” Kits typically run $25–$90, and replacing pawls and springs as a set is cheap certainty. If the winch has ever skipped under load, I stop trusting “it’s probably fine” and start trusting new springs.
If you cruise away from easy chandlery access, keep a spare kit aboard for your primary winches. Before a long coastal leg, use a tool to check the nautical miles for your planned route to estimate how far the next real parts counter is, then decide what spares come along. The ocean has a sense of timing, and it’s not friendly.
When bearings/jaws/drums justify a rebuild—or a new winch
Rebuild territory starts when bearings show pitting or brinelling, when jaw mechanisms are worn beyond cleaning, or when corrosion has started eating surfaces that matter. Bearings can cost $30–$200, jaw kits $40–$180, and a pro Harken winch rebuild or similar labor can run $200–$500+ per winch depending on region and complexity. At some point, money and time start pointing toward replacement, especially if the drum or center shaft is damaged.
Replacement also makes sense if there’s structural cracking, severe corrosion, or a drum surface so damaged it chews lines. Stainless and bronze can still suffer crevice corrosion, and aluminum bases can corrode aggressively around stainless fasteners. If you see swelling, powdery corrosion, or fastener seizure, plan a deeper intervention.
Optional winch removal: bedding, fasteners, backing plates, galvanic isolation
If you find staining around winch bolts, damp core, or fasteners that spin, remove and re-bed. Winch fasteners are commonly 1/4‑20, 5/16‑18, M6, or M8, usually 5–7 fasteners into a backing plate on cored decks. Ignoring leaks is how you earn a soggy core repair that costs far more than a day of careful bedding.
For re-bedding, butyl tape is a serviceable, forgiving choice—often 1/2–3/4 in wide—though some installations call for polyurethane or MS polymer depending on loads and deck geometry. Active work is typically 1–3 hours, plus about 24 hours to settle/cure depending on product and compression. When stainless fasteners go into an aluminum base, isolate with Tef‑Gel or Duralac, and reapply every time you remove hardware to reduce galvanic corrosion.
| Option | Parts cost (USD) | Labor/time | Best for | Risks |
|---|---|---|---|---|
| Routine service (clean + re-lube) | $20–$55 | 30–60 min per winch | Annual maintenance; no wear symptoms | Missed worn pawls/springs if you don’t inspect |
| Service kit (pawls/springs + small parts) | $25–$90 | +15–30 min | Skipping history; weak springs; missing parts | Wrong kit/model mismatch; pawl orientation errors |
| Bearing/jaw rebuild | $70–$380 | 1.5–3 hrs DIY or $200–$500+ pro | Grinding, pitting, jaw slip, heavy use | Hidden corrosion; parts availability mid-cruise |
| Full replacement | $600–$2,500+ (varies widely) | 2–6 hrs plus bedding | Structural corrosion/cracks; major wear | Deck hole pattern mismatch; rebedding required |
| Remove + re-bed base | $15–$60 materials | 1–3 hrs + ~24 hrs settle | Leaks, stains, soft core risk | Stripped bolts; core damage discovery |
If you’re planning a longer run and debating “service now or later,” factor your access to tools and parts like you would fuel range. If you need to estimate your fuel needs based on the voyage distance, the same mileage check also helps you judge whether to carry a spare jaw kit or just pawls and springs. Winches rarely fail at marinas with well-stocked chandlers.
Frequently Asked Questions
On a two-speed self-tailing winch, how do you verify each pawl’s orientation relative to the ratchet gear so it locks in the correct direction?
Install a pawl and rotate the ratchet gear by hand: in the locking direction, the pawl tip must bite and prevent motion; in the free direction, it should ride up and click over teeth. I verify each pawl individually before the full stack goes back in, because once assembled you can misdiagnose a reversed pawl as a “bearing problem.” If your winch has multiple pawl sets, confirm all engage the same locking direction before final reassembly.
What inspection findings on needle roller and thrust bearings (pitting vs brinelling vs rust staining) require replacement rather than cleaning and re-greasing?
Rust staining is sometimes recoverable if the bearing still feels glass-smooth and shows no pits on rollers or races after cleaning. Pitting (visible craters) and brinelling (indexed flat spots or “notches” you can feel when rolling under finger pressure) are replacement triggers, because they accelerate wear and make the winch grind under load. If you feel grit after cleaning and drying, don’t talk yourself out of new bearings—most are $30–$200, which is cheaper than gear damage.
If a winch backwinds after service, how do you differentiate between pawl stiction from grease contamination and a missing/incorrectly seated pawl spring?
Grease stiction usually shows pawls moving sluggishly when you press and release them; they may not snap back crisply, especially when cold. A missing or unseated spring shows a pawl that flops or fails to return at all, often with no consistent clicking. In both cases, strip to the pawls first, clean the pockets, confirm spring seating, and re-oil lightly—backwinding is not a “see if it improves” problem.
What solvent dwell time is safe for metal parts without damaging plastic self-tailer components, and which common degreasers should be avoided?
For metal gears and shafts, a 10–30 minute soak in mineral spirits or kerosene is typically safe and effective for caked grease, followed by brushing and wipe-down. Keep plastic tops, seals, and bearing cages out of long solvent baths; clean them with solvent on a rag or mild soap and water instead. Avoid chlorinated solvents and aggressive degreasers that can attack plastics and some elastomers used in self-tailing mechanisms.
When re-bedding a winch on a cored deck, how do you isolate stainless fasteners from an aluminum base and prevent moisture ingress around M6/M8 or 1/4–5/16 in bolts?
Use an isolation compound like Tef‑Gel or Duralac on stainless fasteners threading into aluminum, and reapply every time the winch is removed to reduce galvanic corrosion. For moisture control, overbore and seal cored holes if needed, then bed with butyl tape (1/2–3/4 in wide is common) or an appropriate marine sealant, tightening fasteners gradually to achieve even squeeze-out. With M6/M8 or 1/4–5/16 in bolts and 5–7 fasteners, even compression and a proper backing plate matter as much as the sealant itself.
About the Author
Related Articles

Code Zero vs Genoa: Jib & Spinnaker Guide
Compare Code Zero vs genoa, jib, and spinnaker by wind range and angle. Choose the right headsail for your boat—read the guide now.
By Breezada Team
Starlink Mini on a Boat: Plans, Power & Offshore Use
Learn Starlink Mini on a boat—plans, power draw, and offshore performance. Compare Roam vs Mobile Priority and get setup tips. Read now.
By Breezada Team
Boat Courtesy Flag & Q Flag Etiquette for Yachts
Learn boat courtesy flag and Q flag etiquette for yachts—what to fly, where to hoist it, and common mistakes. Get the checklist before landfall.
By Breezada Team

French Canals Boat Trip Guide Beyond Canal du Midi
Plan a french canals boat trip beyond the Midi with routes, costs, licenses & lock tips. Compare regions and map your itinerary—start now.
By Breezada Team