Sailing the Galápagos Islands: Permits, Costs & Rules
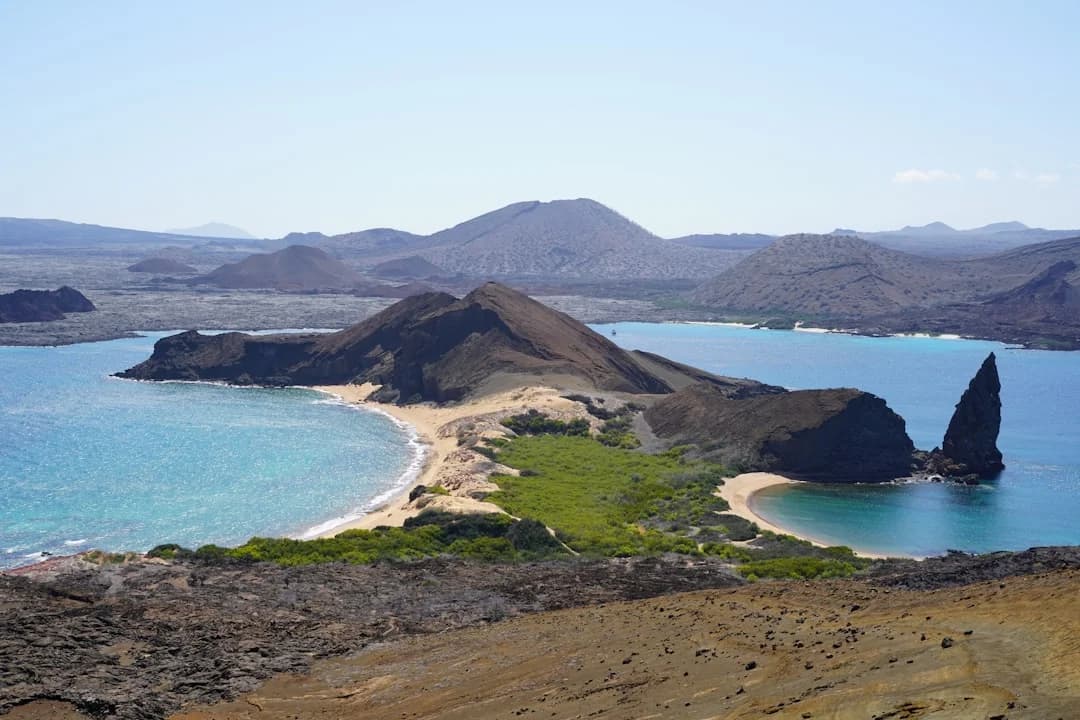
Sailing the Galápagos Islands is less about “finding a quiet anchorage” and more about running a tightly controlled operation inside one of the world’s most enforced protected areas. The Galápagos Marine Reserve covers roughly 133,000 km² (≈51,000 mi²), and Ecuador expanded protections again in 2022 by about 60,000 km² (including Hermandad zones). The result: your itinerary, landings, waste, and even where you can drop the hook are defined by paperwork as much as wind and tide.
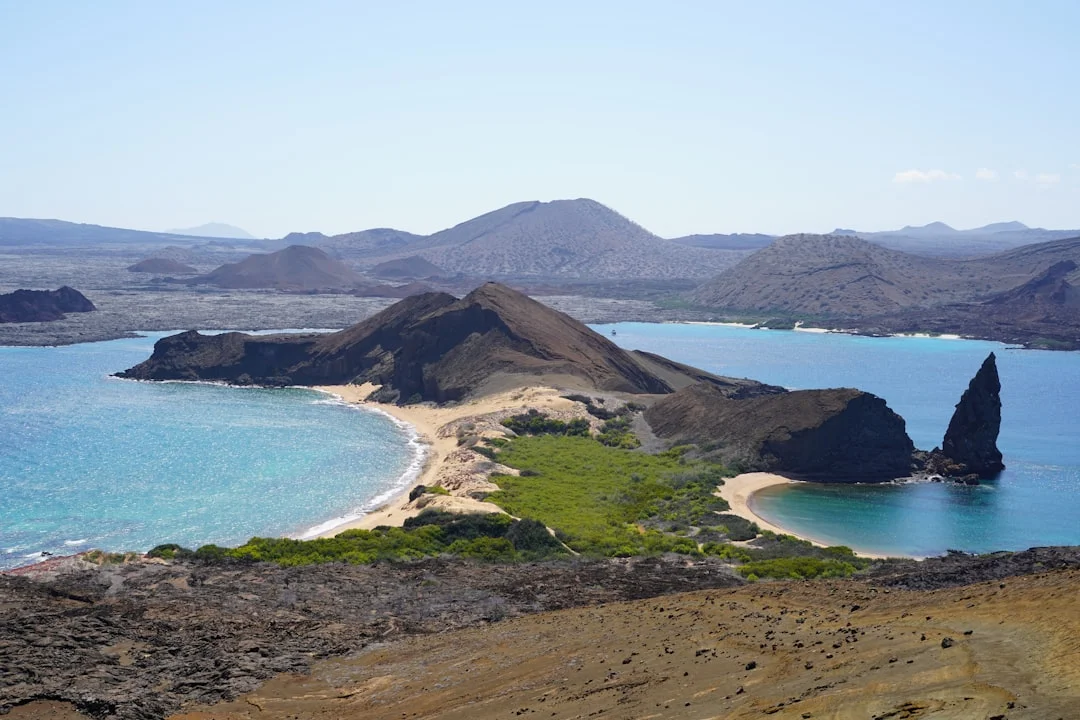
Photo by Heidi Bruce on Unsplash
A lot of skippers get tripped up by one mistake: assuming the Galápagos are like most cruising grounds where clearance is the hard part and freedom starts after the stamp. Here, clearance is step one; after that, the parque nacional galápagos rules and the Galápagos marine reserve regulations drive what you can actually do. Verify current requirements before you depart the mainland, because a “commonly cited” rule is not a rule you can defend during a boarding.
Permits and legal regimes for yachts (Transit vs itinerary)
Key authorities: PNG, Capitanía, ABG, and INGALA/CGREG
Galápagos compliance stacks multiple authorities on top of normal maritime formalities. The Capitanía de Puerto (Port Captain) controls the maritime side: arrivals, departures, domestic clearances, and anchoring/harbor procedures. On top of that, the Parque Nacional Galápagos (PNG) sets the operational rules that most cruisers feel as “Galápagos National Park yacht rules” in practice.
Then you have biosecurity enforcement via ABG—the Agencia de Regulación y Control de la Bioseguridad y Cuarentena para Galápagos. ABG cares about what you’re bringing in, not what flag you fly, and they can delay you over something as small as insects in a locker. Finally, the province entry control layer is tied to INGALA/CGREG systems and traveler controls like the Transit Control Card (TCT), commonly about US$20 per person (verify current rates).
What “Transit” typically allows—and what it doesn’t
Most private yachts enter under a PNG “Transit” authorization, which is the regime behind many stories of “we cruised the Galápagos for a couple weeks.” The common benchmark you’ll hear is up to ~20 days total in the islands, but the actual time limit is whatever your permit letter states, and that’s what gets enforced. Transit typically means port-focused movements, with your world revolving around designated harbors, assigned anchorages/moorings, and zarpes between them.
What Transit usually doesn’t mean is free access to iconic visitor sites. Most of the famous landings are controlled sites with assigned time windows, guide requirements, and quotas, and you can’t simply dinghy ashore because the beach looks empty. In a reserve this valuable, enforcement is not theoretical, and patrols don’t accept “but I saw it on a blog” as supporting documentation.
When a certified naturalist guide becomes mandatory
If your goal includes regulated visitor sites—those classic wildlife walks and snorkel spots—expect that you’ll need an authorized itinerary and a certified Galápagos naturalist guide for those visits. Real-world guide costs commonly land around US$200–$400+ per day, depending on guide level and the itinerary you’re approved for. That guide requirement is the pivot point between “we’re transiting and seeing ports” and “we’re doing the Galápagos experience people picture.”
The Marine Reserve’s scale—again, 133,000 km², plus the 2022 expansion—is why the rule set is strict about fishing, discharges, and activity zones. Even if you never wet a fishing line, the no-take expectations and routing constraints can affect how you plan passages and where you’re allowed to stop. Set expectations with your crew early: in the Galápagos, the permit defines the voyage.
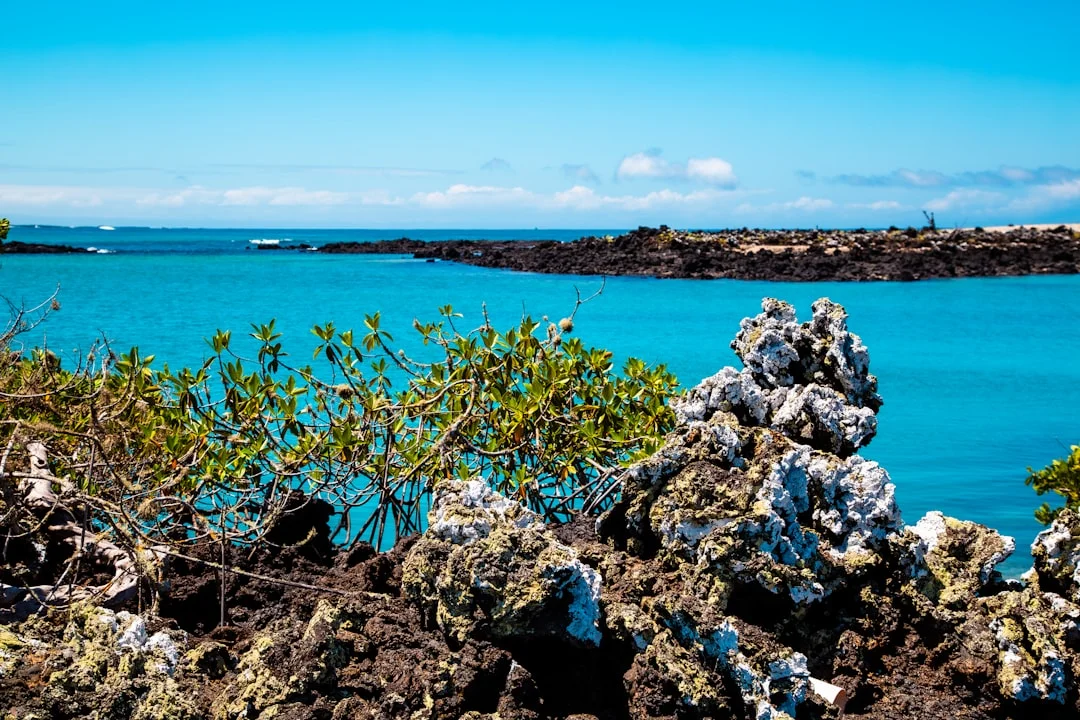
Photo by Sofia on Unsplash
Practical tip: Treat your permit like a passage plan. Highlight allowed ports/anchorages, maximum stay (often cited ~20 days for Transit), and any guide/itinerary clauses before you ever cast off.
Clear-in and clear-out: ports, paperwork, and workflow
Where yachts typically clear: San Cristóbal, Santa Cruz, Isabela
Most yachts clear in (and out) through the main inhabited islands where the offices and inspectors exist in practice: San Cristóbal (Puerto Baquerizo Moreno), Santa Cruz (Puerto Ayora), and Isabela (Puerto Villamil). Your first landfall matters because it sets your logistics for inspections, agent coordination, and getting the correct movement papers issued cleanly. If you arrive late in the day, you may spend the first night simply staying put—legally and practically—until offices open.
San Cristóbal is a common first landfall because it’s a logical approach from the mainland passage and has established clearance routines. Santa Cruz is the services hub, but that doesn’t make it “easier,” just busier. Isabela can be wonderful, but it can also be where paperwork errors get expensive because you’re farther from the administrative center and options are fewer.
The step-by-step order: Port Captain, immigration, customs, ABG
In practice, a captain-friendly sequence looks like this: call in on VHF per local procedure, follow instructions for anchoring/mooring, and keep the boat in “arrival mode” until told otherwise. Then you handle the human side: Port Captain first in many cases (or coordinated by your agent), followed by immigration and customs formalities as applicable, and then ABG biosecurity inspection. It’s not a race; it’s a choreography, and skipping steps is how you get re-inspected.
Bring your ship’s papers, passports, insurance, and radio license, plus a clean crew list with passport numbers. Have printed copies because offices and inspectors often want hard paper, and printers have a habit of breaking right when you need them. Plan for miscellaneous official charges if they’re not bundled—US$50–$300+ is a realistic “highly variable” range depending on what’s charged where and how many copies you need.
Zarpe, SICGAL, copies, and timing windows
The zarpe is your domestic clearance for inter-port moves, and it matters. Moving without the correct zarpe is the sort of thing that can escalate from an awkward conversation to fines or detention, especially inside a high-value reserve. If someone asks where you’re headed, your answer should match your paperwork—every time.
You’ll also hear about SICGAL as part of the local administrative ecosystem that can affect movement permissions and reporting. You don’t need to become a bureaucrat, but you do need your vessel name, registration, crew list, and dates to be consistent across documents. If you’re making multiple port moves, budget for 6–12 stamped/signed copies across the process, because each office tends to want “one for them, one for you, one for the file,” and nobody agrees on the number.
A typical “clearance day” is office-hour driven: morning runs for paperwork, mid-day waits for inspectors, and late afternoon when you realize you should have made three more copies. An agent earns their fee by pre-scheduling inspections, shepherding forms, and reducing your shore-running time from a full-day marathon to a couple focused hours. If you’d rather be checking ground tackle than standing in a queue, that’s a reasonable trade.
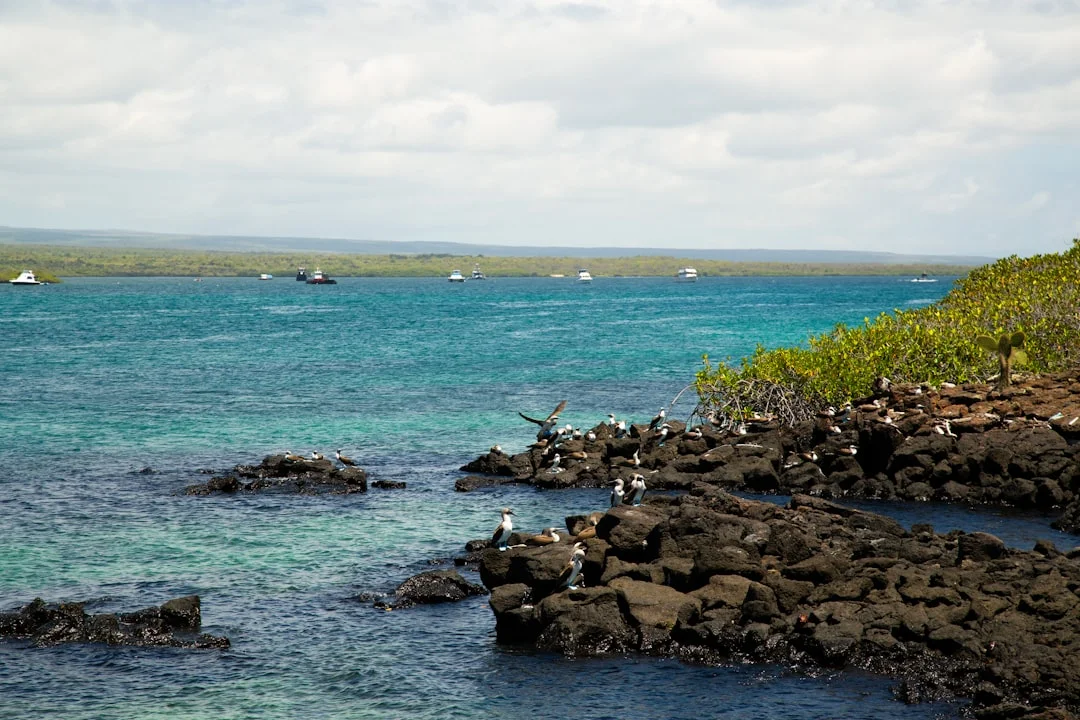
Photo by Sofia on Unsplash
Realistic costs and budgets for visiting by yacht
Per-person fees: TCT and National Park entry
Budgeting for sailing Galápagos Islands starts by separating costs into per-person and per-vessel buckets. The per-person side often includes the TCT (commonly ~US$20/person, verify) and the PNG entry fee (a widely cited benchmark is ~US$100 for a foreign adult, but confirm the current tariff table). These numbers don’t sound terrible until you add vessel fees and the reality that regulated visitor sites usually mean guide days.
Bring USD and keep receipts. You may be asked to show proof of payments during processes, and clean documentation makes clear-out faster. Receipts also protect you from paying the same thing twice when someone insists you “must not have paid yet.”
Per-vessel costs: agents, clearances, and port services
Per-vessel costs are where people get blindsided. Yacht agent fees commonly run US$500–$1,500+ depending on vessel length, crew/passenger count, and how many ports and clearances you’re doing. Add port services, moorings (where applicable), and the day-to-day costs of being in a place where provisions often run 20%–80% higher than mainland Ecuador.
Don’t ignore the little stuff: water taxis/pangas at US$1–$10 per ride add up fast if you’re running errands for a week. Mooring/anchorage fees can be US$0–$50+ per night depending on where you are and what’s assigned. Diesel pricing can swing wildly (~US$1.50–$6.00/gal equivalent, verify locally), and the worst time to discover that is after you’ve planned a schedule that requires motoring.
Low/medium/high scenarios for a 2-person crew (10–20 days)
The table below is a realistic budgeting tool for 2 crew over 14 days, excluding major repairs and excluding a full-on charter-style itinerary. Totals are deliberately ranges because the variance is driven by guide days, agent scope, and how many internal moves you clear.
| Cost item (2 crew / 14 days) | Low (USD) | Medium (USD) | High (USD) |
|---|---|---|---|
| TCT (US$20 pp benchmark) | 40 | 40 | 40 |
| PNG entry (US$100 pp benchmark) | 200 | 200 | 200 |
| Agent / clearance package | 500 | 1,000 | 1,500 |
| Misc. official charges/copies (if not bundled) | 50 | 150 | 300 |
| ABG handling/fumigation if charged separately | 0 | 100 | 250 |
| Guide days (US$200–$400+/day) | 0 (0 days) | 800 (3–4 days) | 2,400 (6 days) |
| Moorings/anchorage fees (US$0–$50+/night) | 0 | 200 | 700 |
| Local panga/water taxi (US$1–$10/ride) | 40 | 120 | 250 |
| Provisions uplift (20%–80% vs mainland) | 150 | 350 | 700 |
| Estimated total | 980 | 2,960 | 6,340 |
The low scenario is basically “port time, compliant movements, minimal extras.” The high scenario is what happens when you want regulated sites, move more, and pay island prices for food and transport. If your dream includes the iconic visitor sites, budget guide days early, because scrambling later is when costs and compromises multiply.
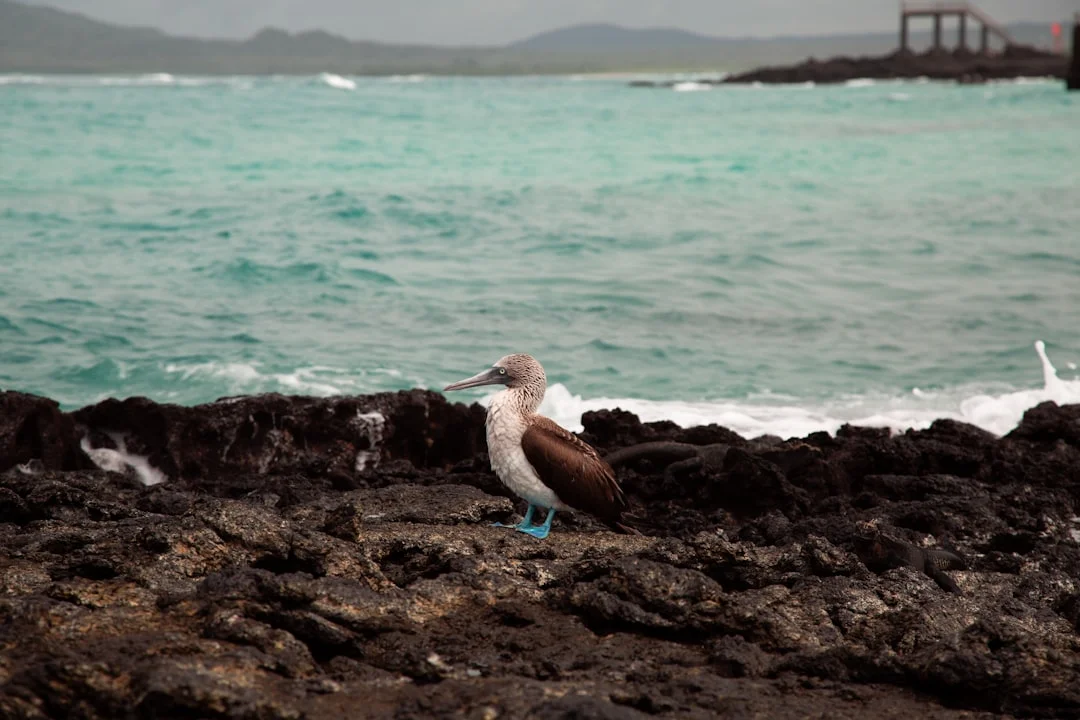
Photo by Sofia on Unsplash
Where you can go: anchoring, landings, guides, and restricted zones
Designated anchorages vs no-anchor zones (seabed protection)
Inside the reserve, “I can anchor safely here” is not the same as “I’m allowed to anchor here.” Many areas use designated anchorages or assigned moorings to protect seabeds, avoid conflicts, and keep traffic organized. Seagrass and sensitive bottoms don’t tolerate fleets of cruisers experimenting with anchor placement, and the enforcement posture reflects that reality.
From a seamanship standpoint, arrive with ground tackle that can hold in crowded roadsteads with limited swing room. Scope is not optional in gusty conditions; 5:1 to 7:1 is a common working range depending on depth and room. For many 40–50 ft yachts, 5/16 in (8 mm) or 3/8 in (10 mm) chain is typical, and undersized chain is a great way to become someone else’s problem at 0200.
Landing rules: dinghy access, harbors, and visitor sites
Landings split into two worlds: port towns and regulated visitor sites. In ports, you’ll usually be able to go ashore under the terms of your clearance, using dinghy docks or water taxis, and you’ll quickly learn the local routine and where you’re allowed to tie up. Keep your ship’s papers and ID accessible, because checks can happen when you least want to climb back aboard for “one more stamp.”
Visitor sites are different. Most are not free-access beaches where private yachts can land whenever they feel like stretching their legs, even if you can physically get a dinghy in. If your authorization doesn’t include those sites—often requiring an itinerary and a certified naturalist guide—then the correct decision is to enjoy the view from the boat and stay legal.
Activities enforcement: fishing, diving, drones, and pollution
The Galápagos marine reserve regulations treat fishing and wildlife interaction as high priority enforcement targets, especially after the 2022 expansion added additional protected zones. If you’re used to casual “trolling a line between islands,” reset that instinct here and confirm the current rules tied to your permit. Spearfishing, drones, and certain diving activities are commonly restricted in protected areas, and the safest assumption is that permission must be explicit.
Pollution discipline should be MARPOL-grade even if you’re on a private yacht. Treat MARPOL Annex V (Garbage) as your baseline—no plastics overboard, no “biodegradable” excuses, and secure everything that could blow away during dinghy transfers. For oil and fuel, think MARPOL Annex I mindset: no sheen, no drips, no sloppy jerry jug transfers in a roadstead with patrol boats watching.
At anchor and near port approaches, follow COLREGS/USCG Navigation Rules (33 CFR 83) for lights and shapes. Use a proper anchor light, keep a watch when traffic is active, and don’t assume pangas will read your mind. In the Galápagos, the boats are small, the traffic is real, and the consequences are annoyingly memorable.
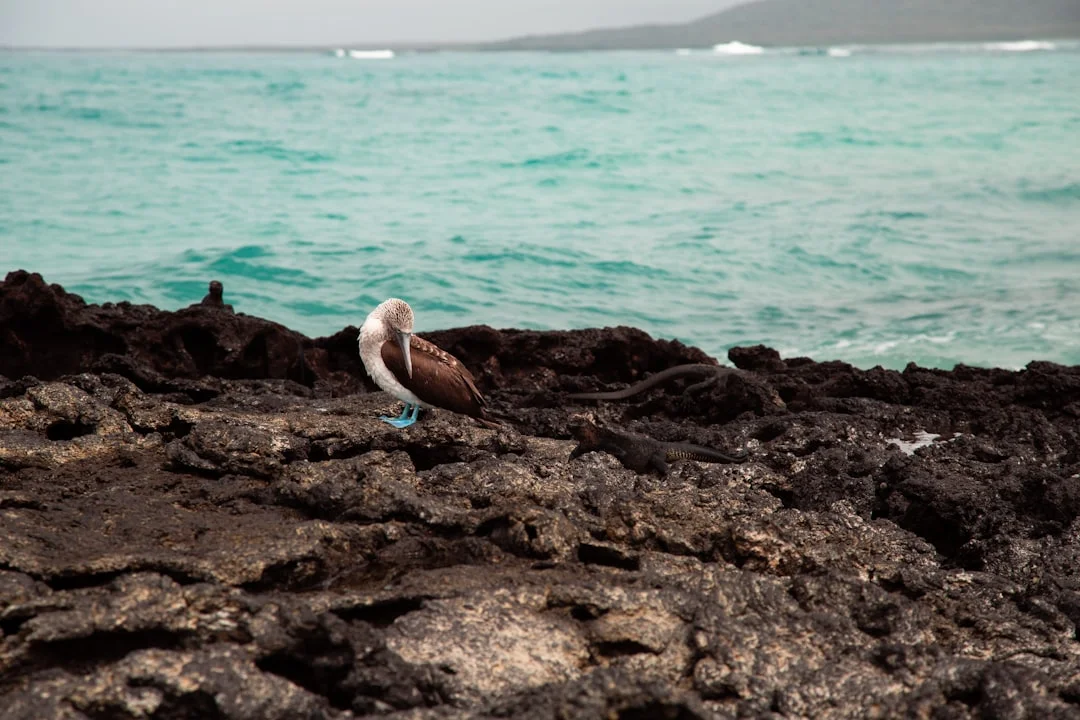
Photo by Sofia on Unsplash
Route planning: inter-island legs, distances, and timing by season
Distance planning for day sails (and why routes aren’t ‘free choice’)
Inter-island distances are short enough that good planning keeps most legs to day sails. Benchmarks: Santa Cruz (Puerto Ayora) ↔ San Cristóbal ~45–55 nm, and Santa Cruz ↔ Isabela ~25–35 nm, depending on routing and where you’re permitted to go. But your route isn’t always “shortest line between two points,” because permits, designated anchorages, and restricted zones can force detours.
When you build legs, start with what your authorization allows—ports, anchorages, and maximum stay—then layer weather and daylight. If you want to sanity-check distances, calculate the distance between ports for quick NM estimates between waypoints, and it helps when you’re translating a permitted movement list into real legs. Add margin for current set/drift, because a 50 nm day can feel long when the sea decides you’re practicing patience.
Seasonal routing: garúa (Jun–Nov) vs hot/wet (Dec–May)
The prevailing SE trades dominate much of the year, but the feel changes by season. Garúa season (roughly Jun–Nov) often means cooler temps, more persistent wind, and a damp chill that creeps into everything you thought was “dry.” It’s also when anchoring loads and chafe risks climb, so think about snubbers, chafe gear, and whether your anchor alarm actually works.
The hot/wet season (roughly Dec–May) can bring lighter winds and squalls, which often translates into more motoring and higher fuel burn. That matters because schedule constraints—clearance windows, inspection timing, and designated stops—can make you motor even when you’d rather sail. Comfort improves in warm water, but your systems workload often increases.
Fuel, water, and time buffers for permit-driven schedules
For fuel planning, use realistic burn numbers for a 40–50 ft auxiliary sailboat: 0.8–1.5 US gal/hour (≈3–6 L/hr) when motoring. If you’re planning a 55 nm leg and expect 8 hours of mixed motor-sailing at 1.0 gph, that’s ~8 gallons, then add a 20% contingency because “unexpected calm” is a standard forecast feature. Use this to estimate your fuel needs based on the voyage distance, especially when you’re forced into daylight arrivals.
Water planning is similarly mechanical. A conservative benchmark is 3–5 L/person/day plus contingency, so two crew for 14 days is 84–140 L before you add dishwashing, deck rinse, and the week you decide you’re sweating more than usual. If your watermaker outputs 30–60 L/hr (8–16 gph), you can quantify runtime: at 40 L/hr, producing 120 L takes 3 hours, plus prefilters and the reality that islands don’t care when your pump decides to sulk.
Time buffers matter because permits and office logistics don’t flex for your convenience. Plan to arrive with at least 2–3 hours of daylight for anchoring and dinghy logistics, and don’t schedule a must-hit deadline on the same day you expect to clear. A regulated cruising ground rewards conservative planning; it punishes optimistic spreadsheets—so check the nautical miles for your planned route before you lock in daylight arrival targets.
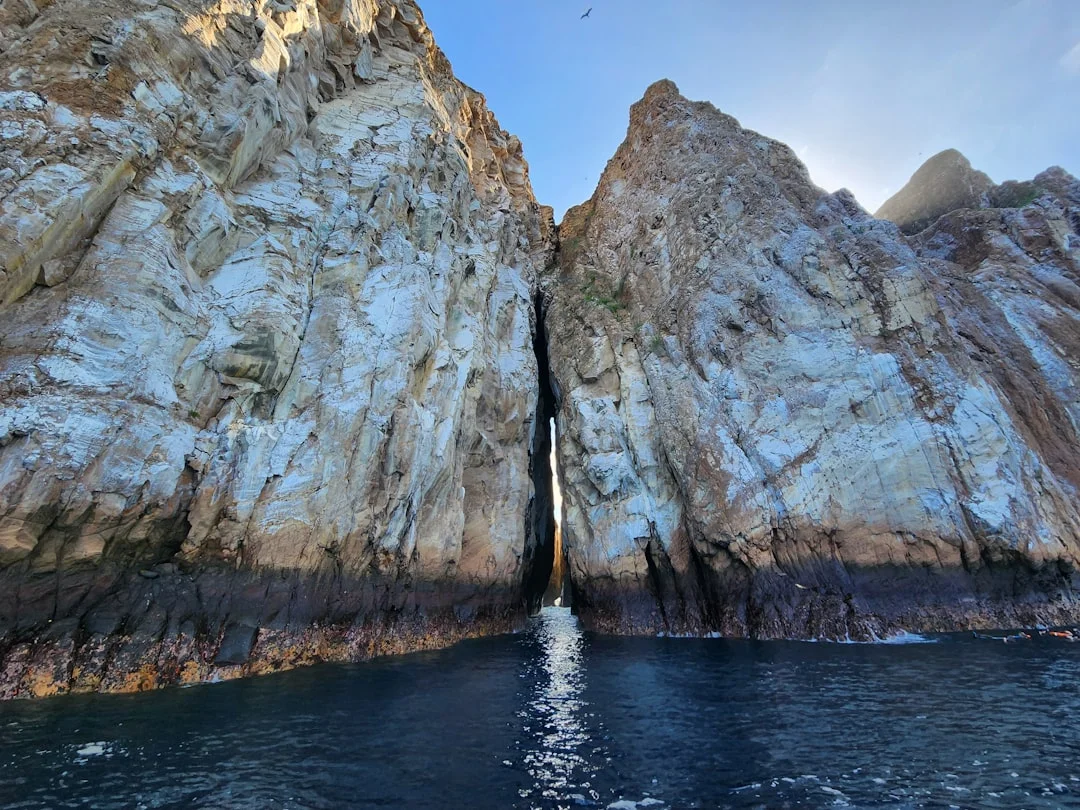
Photo by Nicolas Martin on Unsplash
Biosecurity and quarantine: ABG inspection and onboard systems
What ABG is looking for (and what gets delayed/confiscated)
ABG’s job is to prevent invasive species and pathogens entering an isolated ecosystem, and they take that mandate seriously. Expect inspection attention on food stores, trash handling, insects, soil contamination, and any live plants or animals onboard. If they find risk items—visible insects, unsealed goods, or dirty lockers—you can lose hours to re-checks or face restrictions on what can go ashore.
A smart skipper makes inspection easy. Put high-risk categories (produce, meats, seeds, gardening items) where they can be accessed in one minute, not after you empty half a cabin. If you’ve got pets aboard, confirm requirements well ahead of time, because the answer is rarely “sure, no problem,” and the wrong surprise can end a visit fast.
Provisioning strategy: produce, meats, packaging, and pests
Your goal is to show controlled stores. Repack dry goods into sealed containers, wipe down packaging, and avoid bringing in soil or plant debris stuck in crates and nets. Manage produce intentionally: bring what you’ll eat quickly, keep it clean, and don’t assume you can walk ashore with fruit because it’s “just for lunch.”
Pest control is part of seamanship here. Do a pre-arrival clean: bilges, lockers, and lazarette corners where cockroaches like to write their memoirs. If you need traps or sprays, handle it before you arrive, because sourcing specialized products in the islands can be expensive and limited.
Waste management plan aligned with MARPOL best practice
Treat waste as an onboard system, not a bag under the sink. Segregate recyclables, landfill, and hazardous waste (filters, used oil, batteries), and secure it so nothing goes overboard during dinghy rides. Carry a spill kit sized for at least 5–10 liters of fuel/oil response—absorbent pads, containment bags, and gloves—and handle fueling with the caution implied by MARPOL Annex I.
Blackwater and greywater expectations should be conservative: assume strict no-discharge near sensitive areas and harbors, and contain what you reasonably can. Even if your boat isn’t required to have a holding tank under your flag rules, the reserve environment rewards “no trace” behavior. A written waste plan in your onboard binder sounds nerdy until an inspector appreciates that you’re not improvising.
Safety and technical readiness: mainland passage to island cruising
Offshore passage planning benchmarks (SOLAS V as best practice)
The mainland-to-Galápagos leg is real offshore sailing, not a coastal hop with better scenery. Depending on your departure point and routing, plan ~540–650 nm, and a typical cruiser averages 4.5–6.5 knots, so you’re looking at 4–7 days underway for many boats. That’s long enough for small problems—cooling, steering, comms—to become expensive problems if you ignored them in port.
Use SOLAS V (Safety of Navigation) as a best-practice framework even if you’re not legally bound by it. Carry appropriate charts (paper backup still earns its keep), a written passage plan, and redundancy in nav and power. Arrive rested and in daylight; if you’re making landfall after five days at sea, the last thing you need is a nighttime anchoring drill in a regulated harbor.
Comms, tracking, and collision avoidance near ports
A 406 MHz EPIRB that’s registered is baseline offshore readiness, and the typical minimum operating expectation is 48 hours. Add personal AIS beacons for crew offshore, and run jacklines/tethers like you mean it, because “man overboard” is not a Galápagos wildlife encounter you want. Once you’re near ports, the risk shifts from ocean to traffic—ferries, pangas, and tour boats that operate on schedules and sometimes optimism.
An AIS transponder and VHF with DSC pay for themselves in busy approaches. Follow COLREGS/USCG Navigation Rules (33 CFR 83) for lights, sound signals, and anchor lights, because being “technically right” won’t fix a collision, but being clearly visible helps avoid one. Keep your dinghy well-lit at night; small boats vanish fast against shore lights.
Ground tackle, spares, and autonomy engineering for 1–3 weeks
Your ground tackle is your primary safety system in many Galápagos roadsteads. For many 40–50 ft cruisers, a 25–35 kg (55–77 lb) primary anchor and 60–90 m (200–300 ft) of 8–10 mm (5/16–3/8 in) chain is a common baseline, and it’s not excessive when the garúa season blows through at 25 knots when you’d like to be asleep. Use a snubber, rig chafe protection, and set an anchor alarm with a radius that matches real swing room.
Bring spares like you’re not expecting Amazon delivery. Fuel filtration parts, impellers, a spare alternator belt, spare water pump, and a basic electrical kit prevent you from burning cruising days hunting for parts that may not exist locally. If you run a watermaker, carry prefilters and a rebuild kit, because a clogged unit can turn a 3–5 L/person/day plan into a rationing exercise.
Autonomy engineering reduces your need to buy scarce, expensive fuel and water. Typical cruiser ranges—300–800 W solar and a 200–600 Ah house bank—can keep refrigeration and comms happy with minimal engine time. For safety and fire prevention, ABYC practices are worth following: ABYC E-11 for electrical, H-33/H-24 for diesel/gasoline fuel systems, and H-27 for seacocks and thru-hulls.
Practical tip: Before leaving the mainland, run a “no-chandlery week” drill. If a belt, filter, or pump fails, you should have the part onboard—because in the islands, your schedule may be permit-defined.
Frequently Asked Questions
For a yacht on a PNG “Transit” authorization, what shore landings and anchorages are typically legal without hiring a certified naturalist guide, and what documentation proves compliance during a spot check?
Typically, Transit allows port-oriented movements and access to designated harbor areas where your clearance permits you to go ashore, but it usually does not grant independent access to most regulated visitor sites without a certified guide and authorized itinerary. During a spot check, the strongest proof is your permit/authorization letter, your current zarpe, and any movement/anchorage paperwork showing you’re in a permitted area, plus receipts for required entries (TCT/park fees) where applicable.
What is the correct sequence of offices and documents for Galápagos port clearance (capitanía de puerto/zarpe, immigration, customs, ABG), and how many signed/stamped copies should a skipper budget per port move?
A practical sequence is: follow harbor arrival procedure → check in with the Capitanía de Puerto → complete immigration/customs formalities as applicable → complete ABG biosecurity inspection → obtain the correct zarpe for any inter-island move. Budget 6–12 stamped/signed copies across a port move cycle (crew list, ship’s papers, zarpes, and supporting forms), because multiple offices may each require originals and extra copies.
How do you calculate fuel reserves for inter-island motoring when schedule windows and protected-area constraints limit your routing—using a burn rate of 0.8–1.5 US gal/hr and a 20% contingency?
Estimate motoring hours from distance and expected speed, then multiply by burn rate and add contingency. Example: if you expect 10 hours of engine time on a mixed leg, at 1.0 gal/hr you plan 10 gallons, then add 20% = 12 gallons minimum; at 1.5 gal/hr, that’s 15 gallons plus 20% = 18 gallons. Use Breezada’s sea distance calculator to turn permitted routing into realistic NM and hours, then back into fuel.
What ABG biosecurity inspection triggers extra handling (e.g., fresh produce categories, visible insects, soil contamination, pets), and how should stores be packaged to pass inspection efficiently?
Extra handling is commonly triggered by visible insects, unsealed dry goods, produce with soil/plant debris, live plants/animals, and poorly contained trash. Package stores in sealed, wipeable containers; keep produce clean and grouped for quick access; isolate high-risk items in one locker; and present a simple waste segregation setup. The faster you can show “controlled stores, controlled waste,” the faster ABG can finish.
What anchoring setup minimizes drag and seabed damage in permitted Galápagos anchorages—recommended scope (5:1–7:1), chain size (5/16–3/8 in for many 40–50 ft yachts), and watchkeeping practices in gusty garúa season?
Use the anchorage/zone you’re assigned, set on sand where possible, and avoid dragging through seagrass. Deploy 5:1–7:1 scope depending on depth and swing room, with appropriately sized chain—commonly 5/16–3/8 in for many 40–50 ft yachts—plus a snubber and chafe gear. In garúa season, maintain an anchor watch routine: verify set with transits, run an anchor alarm with a realistic radius, and do a deck check when wind shifts or gusts build.
If you want the shortest path to a legal, sane plan: verify current tariffs and permit language, decide if your trip is “Transit ports” or “visitor sites with guide days,” and build a 7/14/21-day schedule around office logistics and authorized movements. Then run your distances through Breezada’s sea distance calculator to backstop time, fuel, and daylight arrivals before you leave the mainland. That’s the difference between a memorable Galápagos visit and an expensive lesson in paperwork.
About the Author
Related Articles
Amalfi Coast vs French Riviera Sailing Guide (Costs & Routes)
Compare Amalfi Coast vs French Riviera sailing—costs, crowds, mooring rules, best months, and 7-day routes. Choose your coast and plan now.
By Breezada Team
Puget Sound Cruising Guide to Gulf Islands Routes
Plan routes, anchorages, and weather windows with this Puget Sound cruising guide for the Gulf Islands & San Juans. Read now and start plotting.
By Breezada Team
Sailing Amalfi Coast Guide: Ports, Anchorages & Rules
Sailing Amalfi Coast guide to Capri, Positano & Amalfi: best ports, anchorages, fees, VHF and rules. Plan your route—read now.
By Breezada Team
Dry Tortugas Sailing: Routes, Anchoring & Permits
Plan Dry Tortugas sailing from Key West with routes, weather windows, anchoring/moorings, and permits. Read the guide and plan your trip.
By Breezada Team