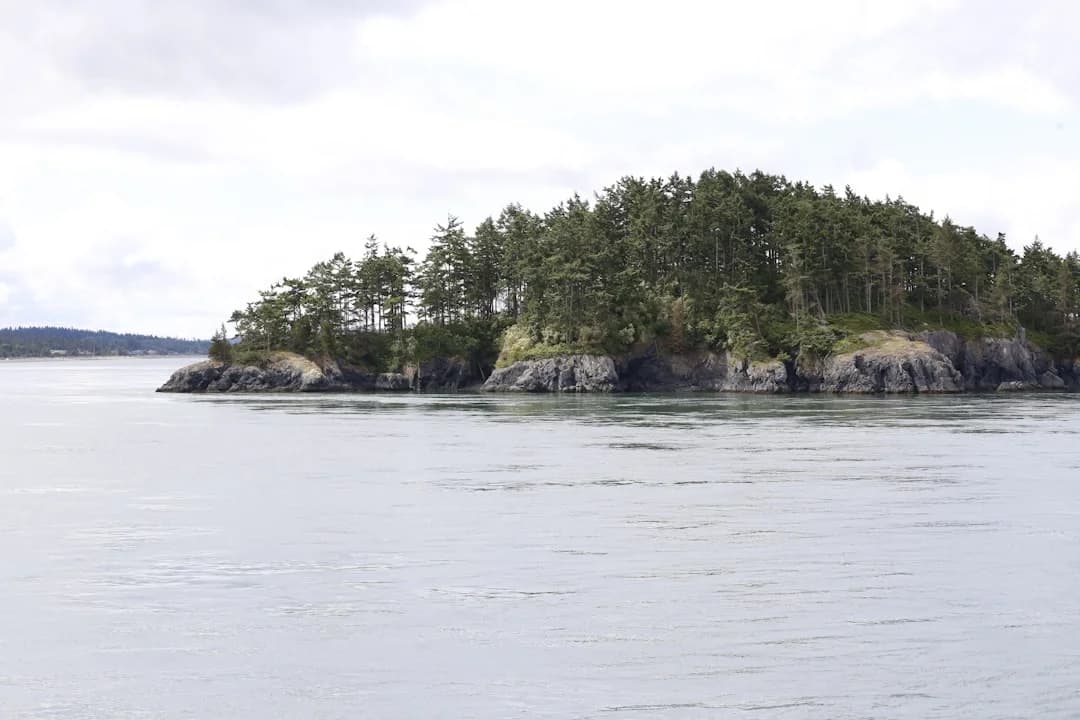
Puget Sound & Gulf Islands Cruising Guide
Meta description: Plan safer Salish Sea passages with routes, anchorages, tides/currents, and weather windows for Puget Sound to the Gulf Islands—use this guide now.
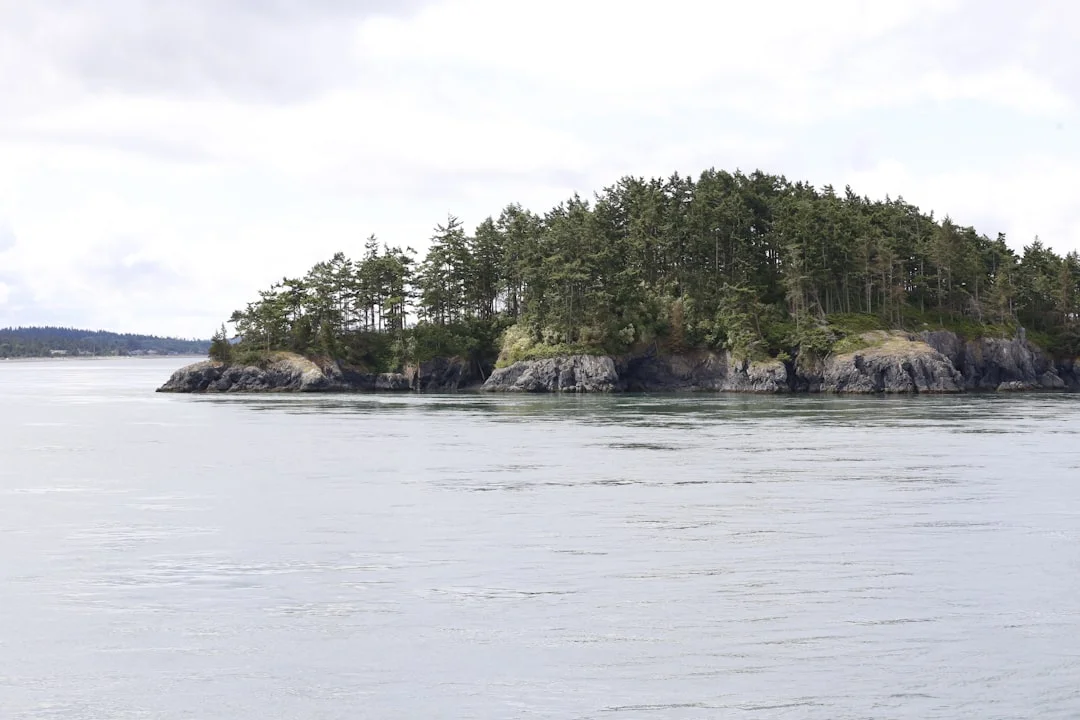
Photo by Georg Eiermann on Unsplash
Overview Map in Words: The Salish Sea Cruising Area
The “Salish Sea” is one connected cruising ground with several distinct neighborhoods: Puget Sound, Admiralty Inlet, the Strait of Juan de Fuca, the San Juan Islands, and the Gulf Islands. The gates between them are what set your schedule, not your wish list. Think Admiralty Inlet/Point Wilson as the north door out of Central Sound, Rosario Strait and Haro Strait as the two main northbound corridors, and Boundary Pass as the final turnstile into the Gulf Islands.
What makes this region different is the combination of big tides and tight geometry. Tidal range is commonly 8–14 ft, and in spring cycles parts of the Salish Sea can see 15+ ft, which changes both anchoring scope and dockline length. Currents reverse hard and fast in constricted places, cold water sits around 50–56°F (10–13°C) in summer and 44–48°F (7–9°C) in winter, and the traffic is real: ferries, tugs, deep-draft ships, and weekenders all want the same corners.
This Puget Sound cruising guide is aimed at the typical 30–40 ft cruising sailboat doing mixed sail/motor days, with a crew that prefers conservative weather windows. You don’t need to be a current-table wizard, but you do need to accept that “it’s only 20 miles” can still be a long day when you donate 4 knots to the tide. If your plan assumes you’ll average hull speed whenever you feel like it, the Salish Sea will correct that assumption quickly and without apology.
Use this guide by building day-hops between protected stops, then validating each leg with NOAA marine forecast zones, tide/current tables, and a traffic plan around AIS shipping lanes. For distances, the anchors are reliable: Shilshole Bay (Seattle) → Friday Harbor ~55–65 NM, Anacortes → Friday Harbor ~20–25 NM, and Roche Harbor → Sidney ~12–18 NM. At 6.0 kt average SOG, 30 NM ≈ 5 hours and 45 NM ≈ 7.5 hours, and you add 1–2 hours because ferries don’t care about your ETA.
If you want a quick reality check on mileage before you start “optimizing” the route, run the legs through a tool to calculate the distance between ports and then re-run them with alternates. It’s a fast way to spot the day you accidentally planned 65 NM plus a customs stop and dinner reservations. Plan for “average SOG,” not “best-case STW,” and your crew will stay friends.
Weather Windows & Seasonal Patterns (NOAA Zones + Rules)
Weather here is rarely one forecast for one place, which is why people get surprised. Your route can touch protected inside water and exposed straits in the same day, and each lives in a different NOAA zone with different wind behavior. When planning a Strait of Juan de Fuca weather window, I don’t care what a city app says; I care what the marine zone says about sustained wind, seas, and timing.
Microclimates That Matter: Strait vs Inside Passages
Summer typically brings thermal patterns: interior heating builds pressure gradients and you get afternoon northerlies inside, with westerlies in the Strait that can ramp up faster than you’d like. It’s common to leave on flat water at 0900 and find 15–25 kt in the wrong place by 1400, especially near the Strait’s eastern end. Shoulder seasons flip the script with southerly frontal flow, which changes which anchorages are comfortable and which become lee shores.
When you read NOAA text, tie it to your geometry. Rosario Strait can be workable in 15–20 kt if the sea state stays organized and you have room to manage traffic, while exposed corners of Haro or Boundary can feel harsher with the same numbers. The trick is to plan crossings earlier than your instincts, because afternoon is when the atmosphere likes to “improve” your situation.
Wind-Against-Current: When 20 kt Becomes ‘No-Go’
In this region, “20 knots” isn’t the whole story, because current can steepen seas into short-period misery. Small Craft Advisories for the Strait are commonly 21–33 kt sustained, and gales 34–47 kt, which are useful hard markers even if you’re not in the Strait that day. For comfort-focused cruising, I aim major exposed crossings at ≤15–20 kt sustained and ≤3–5 ft when possible, and I get very picky when wind opposes a max ebb or flood.
A 3–5 kt opposing current in Rosario or Boundary can turn modest wind waves into square-edged piles that stop boats and break gear. Your go/no-go threshold should drop when the tide is against you, especially near constrictions where standing waves form. If you need motivation, remember that a wet, cold cockpit in 52°F water conditions is not character-building; it’s just cold.
Fog & Restricted Visibility Operating Pattern
Fog is not an “edge case” here; it’s a normal summer tool the Salish Sea uses to keep you humble. Your operating pattern should include nav lights that meet visibility and placement expectations (ABYC A-16 is the practical reference), a real sound-signal plan under COLREGS, and watchstanding that assumes someone else is doing something unwise at speed. If you have radar and AIS, use them; if you don’t, slow down and treat ferry routes like loaded crossbows.
In restricted visibility, manage speed so you can stop or turn inside the distance you can see, and keep crew tasks simple. I like to pre-brief who is on bow watch, who is on plotter, and who is on VHF, and then I keep chatter minimal. Also, don’t “thread the needle” through tight passes in fog if you can choose an inside route and arrive 90 minutes later with your blood pressure intact.
Tip box — my practical Salish Sea rule set:
If wind opposes max current in a constriction, treat the forecast as one category worse. Plan exposed legs for ≤20 kt and ≤5 ft, and move early to stay ahead of afternoon gradients and fog.
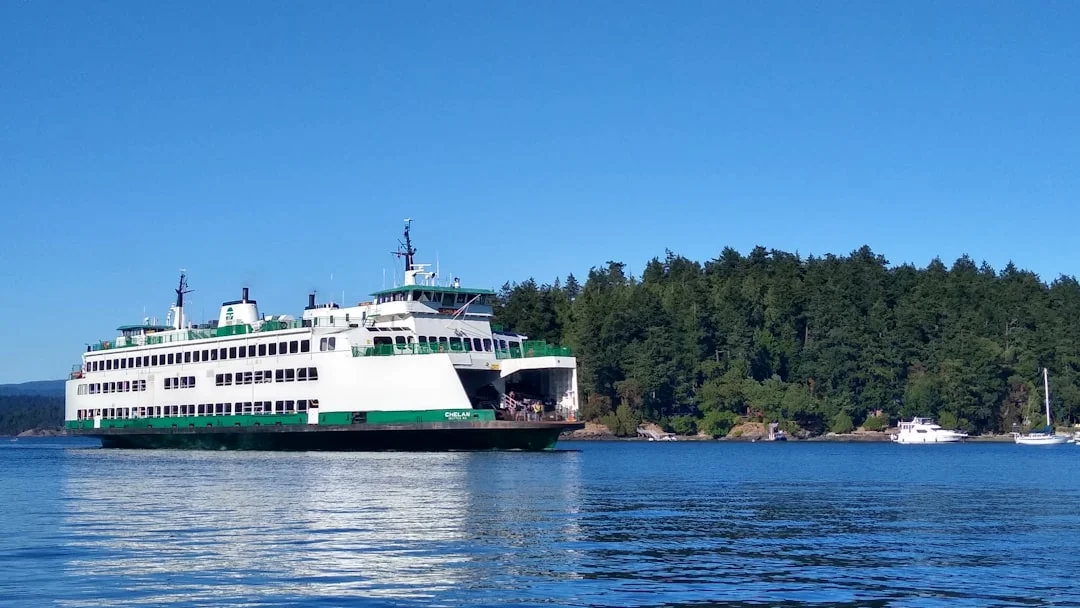
Photo by Kris DeBruine on Unsplash
Route Planning Framework: Distances, Gates, and Timing
A repeatable framework beats heroic improvisation every time. Start by picking the places you actually want to spend time, then identify the gates that can ruin your day if you arrive late: Admiralty Inlet/Point Wilson, Deception Pass, and the Rosario/Boundary/Haro constrictions. Once the gates are on the calendar, day-hops basically arrange themselves between protected anchorages and serviceable marinas.
Build Day-Hops Backward From the Gates
Build your plan backward from a target slack or favorable current window. If you need Deception Pass near slack, that transit time dictates your departure, which dictates where you must sleep the night before, not the other way around. I’ve watched plenty of skippers leave late because “checkout is 1100,” then arrive at a pass at max flow and pretend it was the plan.
Your day-hop math needs to include docking/anchoring time and traffic friction. At 6.0 kt SOG, 45 NM ≈ 7.5 hours, but in the San Juans you can easily lose 30–60 minutes to ferries, sail changes, crab-pot slaloms, and “why is there a seaplane landing here?” moments. For quick distance sanity checks, I’ll run primary and alternate legs through Breezada’s sea distance calculator, then add time buffers for the specific gates.
Sea Distance Calculation: SOG vs STW vs Current Set/Drift
Separate speed-through-water (STW) from speed-over-ground (SOG) or you’ll lie to yourself all week. Example: a decent cruising sailboat making 6.5 kt STW into an adverse 4 kt current is now doing ~2.5 kt SOG, which turns a “short” 12 NM leg into a half-day. That’s why locals talk about currents more than canvas.
A simple template keeps you honest:
ETA = distance (NM) ÷ expected average SOG + 1–2 hour buffer + gate timing constraint.
Use tide/current stations specific to the locality, because “slack at one station” is often 20–60 minutes different from the pass you care about.
Finally, plan bailouts like you mean it. For every exposed leg, list at least 2 alternates you can reach if the wind builds to 20+ kt or visibility goes below 0.5 NM. A bailout you haven’t looked up is just a comforting story.
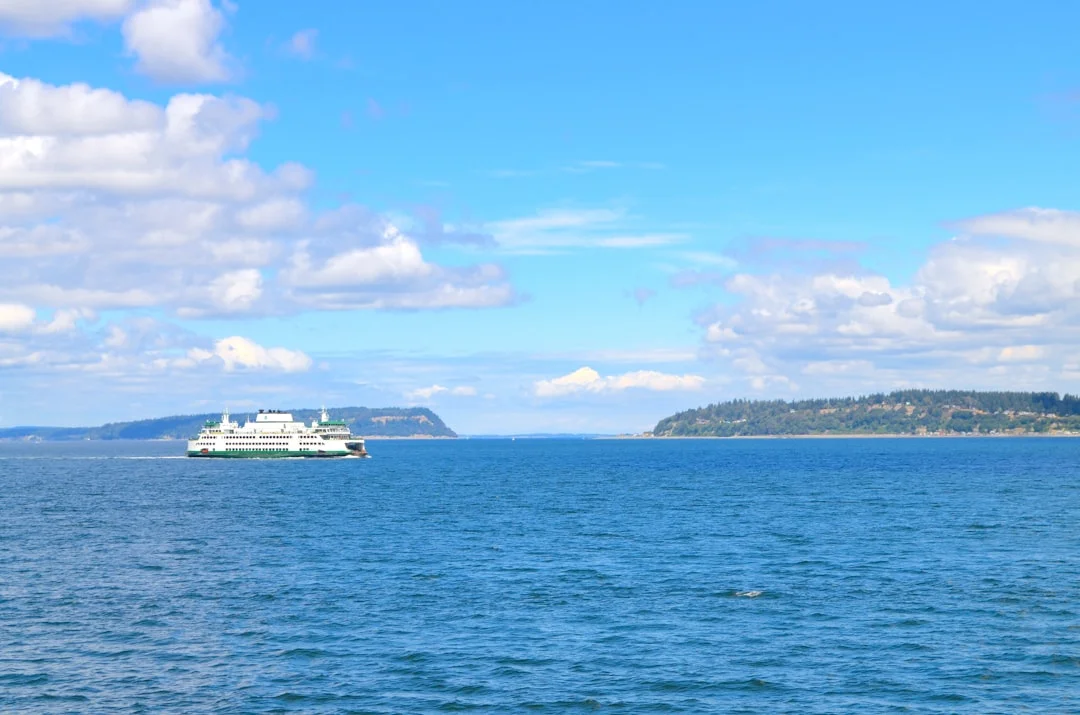
Photo by Ty Fiero on Unsplash
Route Option 1 (7–10 Days): Seattle → San Juans → Sidney
This is the classic “get out of the city, get into the islands, and end in Canada” trip, and it works well when you stage for gates instead of forcing miles. The headline distance—Shilshole → Friday Harbor ~55–65 NM—is doable in a day for some boats, but it’s a much nicer trip as two legs with a smart staging stop. You’ll arrive earlier, anchor calmer, and make fewer poor decisions around ferries.
Leg 1: Central Sound to Port Townsend (Staging for Gates)
From Seattle, I like a first leg to a staging harbor that positions you for Admiralty Inlet and the Point Wilson area. You’re not chasing romance on Day 1; you’re buying options for Day 2. On a 30–40 ft boat, arriving with daylight margin matters because fuel docks, guest moorage, and anchoring lanes get busy in July.
If the forecast shows afternoon northerlies building to 15–20 kt, leave early and treat the Sound like a commute: steady watch, predictable moves, clean crossings of ferry routes at near-right angles. Monitor the appropriate VHF calling channels for the area, but don’t let the radio become a substitute for looking outside. Ferries are impressively consistent, right up until they aren’t.
Leg 2: Port Townsend to Friday Harbor (Choose Rosario vs Inside)
This is where you pick a corridor: Rosario Strait (more open, more fetch) versus an inside route via the San Juan Channel (more turns, more current interaction, usually less sea). If you have a clean weather window—say ≤15 kt forecast and organized seas—Rosario can be fast and straightforward. If it’s bouncy, foggy, or your crew dislikes shipping lanes, inside routes can be slower but calmer.
Current timing decides whether this day feels like a sail or an engine test. Even a favorable 2–3 kt push can turn a marginal schedule into an easy arrival before the harbor fills. Use Breezada’s sea distance calculator for both options and compare not just miles but your likely SOG with current help or penalty.
Leg 3: Friday Harbor to Roche Harbor to Sidney (CBSA Timing)
From Friday Harbor, it’s an easy hop to Roche Harbor, and then you’re staring at the border water. Roche Harbor → Sidney is roughly 12–18 NM, but the calendar time is longer than the mileage suggests because customs has its own schedule. Plan to arrive with plenty of daylight, because CBSA reporting plus marina check-in can easily consume 15–60+ minutes in peak season.
Choose your first Canadian stop for reporting logistics, not postcard value. Have passports and vessel documentation ready, know your reporting method, and keep the crew on the boat until cleared. You’ll also want to time Boundary/Haro crossings to avoid strong opposing wind against current, because a “quick border hop” gets unpleasant fast when the sea stands up.
Provisioning logic matters here. Stock up before you leave the higher-service hubs, because detours for groceries can add 6–12 NM and push you into the afternoon gradient. The islands are great at many things, but they’re not great at keeping you on schedule when you arrive hungry.
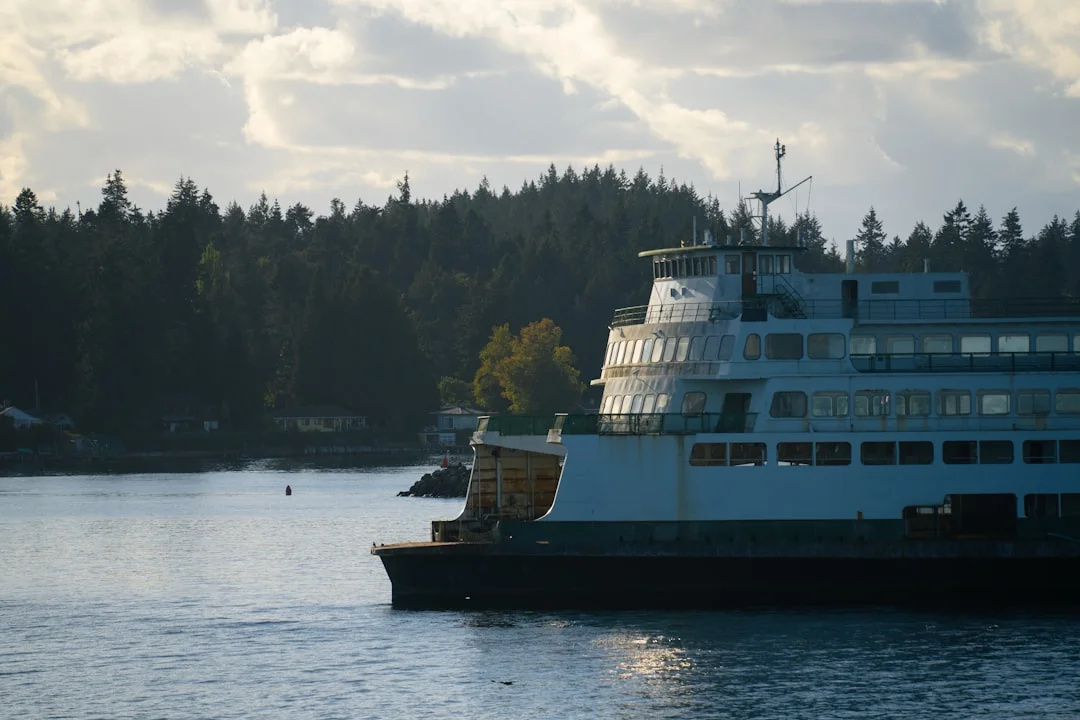
Photo by Alex Moliski on Unsplash
Route Option 2 (10–14 Days): Anacortes + San Juans/Gulf Islands
If you can start from Anacortes, you’re playing on easy mode—in a good way. Anacortes → Friday Harbor is ~20–25 NM, which gives first-day flexibility and a built-in “we can stop early” option if weather or crew energy says so. It’s also a high-leverage staging point for Deception Pass, Rosario, and the inside channels.
San Juans Loop Logic: East/West Sides by Wind
Loop planning is mostly about choosing east versus west sides of the island chain based on the dominant wind. In summer northerlies, the west sides can be lumpier with more fetch, while many east-side bays sit in better lee. In shoulder-season southerlies, several “summer favorites” become lee shores, and you want anchorages with protection from S–SE and room to swing on reversing current.
Build in rest days with short hops in the 8–12 NM range and one or two longer moves when you have a clean ≤20 kt window. In a 10–14 day plan, you can afford to wait out a day of fog or a Small Craft Advisory and still see the good bits. That’s the whole point of taking two weeks instead of trying to “bag” the islands like a checklist.
Return Strategies: Deception Pass vs Strait Options
Deception Pass is useful, not mystical. Peak currents commonly run ~6–9 kt, slack is brief, and the penalties for arriving late are real, especially with opposing wind. If you can stage nearby and hit it near slack with a favorable set, it’s a smart return that saves miles and keeps you out of rougher outside water.
If timing doesn’t work, don’t force it. A longer but easier route via Rosario or through more open water can be the safer choice, especially if you’d otherwise arrive at the pass with 15–20 kt opposing current and a tired crew. The Salish Sea rewards the skipper who takes the boring option early.
Swinomish Channel cruising can also be a tactical repositioning tool, particularly when you want to shift between areas without committing to bigger water. But treat it as a “precision corridor”: depths can be limiting, currents matter, and you need updated charts and local knowledge. A grounding at 3 kt is still a grounding, and it’s a poor way to spend a vacation day.
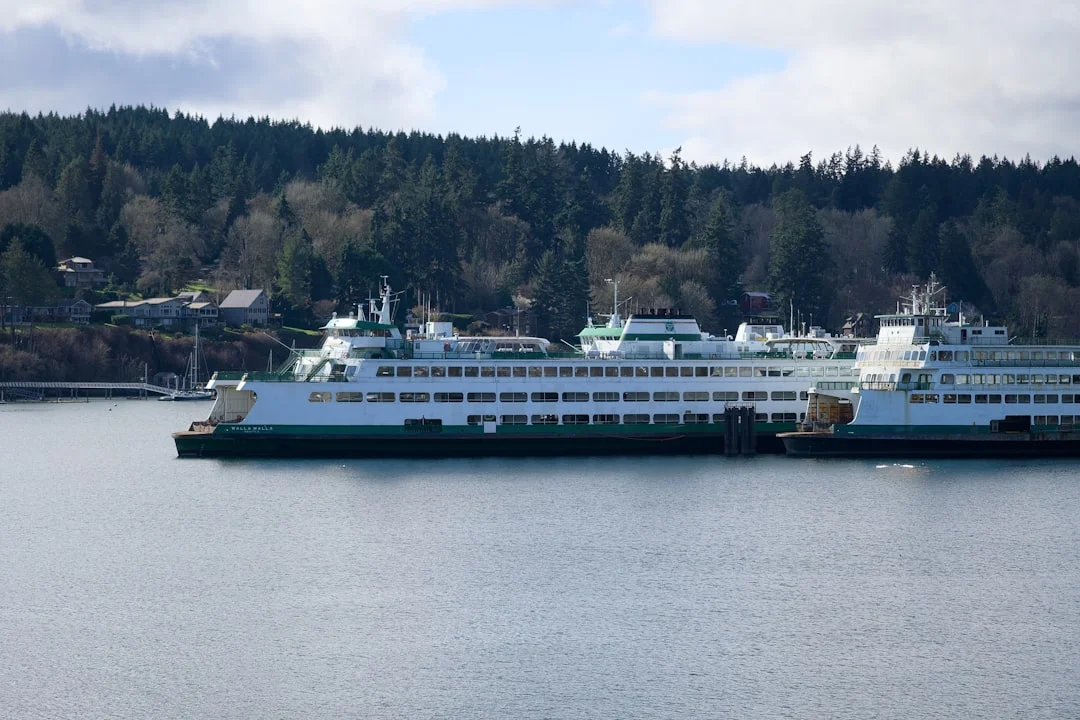
Photo by Alex Stone on Unsplash
Anchorages & WA Marine Parks Mooring Buoys (By Wind)
Anchoring is where Puget Sound cruising gets real, because the region combines depth, tide range, kelp, and reversing current like it’s trying to test your setup. Many popular coves and parks sit around 25–70 ft, while some bays run 80–120+ ft, which makes rode length and scope math non-negotiable. When people drag here, it’s usually because they anchored like it was a lake.
Depth, Bottom, and Kelp: Setting Up for Holding
Bottom types are often friendly mud and sand, but plenty of places have rock, boulders, and kelp or eelgrass. Kelp can foul a fluke during the set, and boulders can make you think you’re set when you’re really “wedged.” For a 30–40 ft cruiser, a modern scoop-style anchor in the 25–35 lb class paired with 5/16 in (8 mm) G4/HT chain is a common, proven baseline, and ABYC H-41 is a good best-practice reference for loads, chafe, and setup.
Scope math needs to use high water, not the depth when you arrived. Example: 45 ft at HW + 5 ft bow height = 50 ft, so 5:1 = 250 ft of rode and 7:1 = 350 ft. If your chain is 150 ft and you’re in 60 ft at high tide, you’re not “all chain,” you’re improvising.
Reversing Currents: Swing Radius and Neighbor Management
Reversing current can swing your boat 180° multiple times per day, and that changes how you judge crowding. A boat on 250 ft of rode has a big swing circle, and in tight coves that’s where friendships go to die. If the anchorage is crowded, you either shorten up with excellent gear and conditions, use a buoy, or move—because hoping people won’t swing into each other is not a plan.
Use a snubber: 15–30 ft of 5/8 in nylon with chafe protection is typical, and it reduces shock loads and chain noise. Reset checks matter here; I like to verify the set with reverse at 1,500–2,000 rpm (boat-dependent) and then watch transits or GPS for 10–15 minutes. If you’re dragging, you want to know before you’re in someone’s cockpit.
Mooring Buoys vs Anchoring: When to Choose Which
Washington State Marine Parks mooring buoys and docks can be a budget and stress win, especially in popular coves. Typical buoy/dock fees are often ~$12–$25/night, varying by park, season, and boat length category, and they can save you from needing 350 ft of rode in deep water. The downside is availability: in peak summer, buoys can be “all taken” by mid-afternoon, because everyone likes sleeping well.
Buoy pickup is seamanship, not luck. Approach into wind/current at dead slow, use a boat hook, and rig chafe gear on the pennant because it can saw through line surprisingly fast in chop. If the buoy hardware looks suspect, don’t rationalize it; anchor instead or move on.
Also, avoid anchoring in eelgrass where possible. It’s not just etiquette; it’s habitat, and it’s increasingly managed. If you need an excuse to be courteous, remember you’ll probably be back next year, and so will everyone else.
Photo by David Lang on Unsplash
Tides, Currents, and Key Gates: Deception Pass to Boundary
If you remember only one thing about Puget Sound tides and currents, make it this: plan by stations and slacks, not by vibes. Tidal rapids don’t care that you’re capable; they care whether you arrived at max flood with 20 kt on the nose. Gates like Deception Pass, Rosario/Boundary constrictions, and even parts of Admiralty Inlet deserve scheduled attention.
Deception Pass Transit: Go/No-Go Criteria
Deception Pass commonly sees peak currents around ~6–9 kt, and slack is brief. The practical technique is staging nearby early, confirming your current table timing, and committing only when you can still abort. Abort planning means knowing where you can safely turn around, where the eddies are, and where you can wait without getting set onto rocks or traffic.
My go/no-go lens is conservative: avoid strong opposing wind against the current near max flow, because standing waves get steep and control margins shrink. If you arrive late to slack, do not “just try it” because you’re close; the pass will be there tomorrow, and your gear will appreciate patience. Treat it like an appointment, not a suggestion.
Rosario Strait & Boundary Pass: Riding the Conveyor Belt
Rosario and Boundary often run ~3–5 kt in constricted areas, which is enough to make or break your day. This is where current turns into fuel and fatigue: ride a favorable push and you sail comfortably, fight it and you motor hard, slower than you expected. Remember the math: 6.5 kt STW – 4 kt adverse = ~2.5 kt SOG, and suddenly your 18 NM hop is a time sink.
The other trap is assuming slack happens everywhere at once. Slack at one reference station can be offset by 20–60 minutes from the corner you care about, so use locality-specific predictions and then verify on the water by watching rip lines and SOG trends. If you’re seeing overfalls building and your SOG collapsing, you’re late—act like it.
Admiralty Inlet: When the ‘Easy’ Water Isn’t Easy
Admiralty Inlet is wide enough to lull people into complacency, but it’s a real gate with commercial traffic and wind/current interaction. The combination of ferry routes, deep-draft ships, and building afternoon wind can make it a high-workload area even in decent conditions. This is also where sloppy lane crossings and poor lookout get punished.
Cross traffic lanes at near-right angles when practical and avoid meandering. If you’re in fog, you need a tighter bridge routine: lights on, sound signals, and a watch that actually watches instead of staring at a screen. COLREGS expectations don’t drop because it’s inconvenient, and neither do ships.
Marinas, Fuel, Pump-Outs, and Realistic Cruising Costs
Services should drive some of your stop choices, especially before and after exposed legs. Fuel docks aren’t everywhere, pump-outs can be $5–$25 (sometimes free with moorage), and groceries often require a hike that feels longer when you’re carrying 30 lb of provisions. Budget also changes your routing options, because a “quick marina night” can cost what a decent dinner costs back home—twice.
Guest moorage commonly runs $1.50–$3.50/ft/night in Puget Sound and the San Juans, so a 35 ft boat is roughly $53–$123/night before tax and power. In the Gulf Islands, BC marinas are often CA$1.50–CA$3.50/ft/night, plus power, with exchange-rate reality doing whatever it does that week. Shore power is usually 30A 120V, sometimes 50A, and ABYC E-11 best practices—polarity checks, ELCI where applicable, and galvanic isolation—are how you avoid turning your underwater metals into a science experiment.
Fuel is where current planning becomes money. With diesel around US$5–$7/gal, a 40 hp diesel burning 0.6–1.0 gph costs about $3–$7/hour in fuel, and adverse current can double your motoring time. If you want to estimate fuel for a leg, estimate your fuel needs based on the voyage distance, then apply conservative SOG assumptions and a current penalty.
| 10-night cruising scenario (35 ft boat) | Nights in marinas (US/BC) | Nights on WA State Parks buoys/docks | Nights at anchor | Moorage/buoy cost estimate | Fuel assumption & estimate |
|---|---|---|---|---|---|
| A) All marinas | 10 | 0 | 0 | $530–$1,230 (10 × $53–$123) + tax/power | 10–20 engine hours × $3–$7/hr ≈ $30–$140 |
| B) Mixed (services + comfort) | 5 | 3 | 2 | Marinas $265–$615 + buoys $36–$75 = $301–$690 + tax/power | 15–30 engine hours ≈ $45–$210 (more repositioning) |
| C) Mostly anchor (pick service stops) | 2 | 2 | 6 | Marinas $106–$246 + buoys $24–$50 = $130–$296 + tax/power | 20–40 engine hours ≈ $60–$280 (calms/current fights happen) |
Regulations, Safety, and Traffic (USCG/Transport Canada, COLREGS, Ferry Lanes, Shipping)
Crossing from Washington into the Gulf Islands means two things change immediately: enforcement context and your margin for paperwork sloppiness. In U.S. waters, USCG carriage requirements (notably 33 CFR 175 for PFD carriage) set a baseline, plus visual distress signals and a sound-producing device. In Canadian waters, Transport Canada’s Small Vessel Regulations apply, and the easiest way to stay sane is to meet the stricter interpretation where practical, especially on flares, sound signals, and PFD/lifejacket compliance.
Cold water is the hidden regulator that doesn’t issue tickets, it issues consequences. With summer sea-surface temperatures around 50–56°F, I treat wearable PFD use as standard, not optional, and I plan for immersion with layers and a reboarding method. A ladder you can deploy from the water is not a luxury in this region; it’s a self-rescue tool.
Traffic is the other “regulation,” because ferries and commercial ships make their own weather. In shipping lanes and ferry corridors, you need predictable course and speed, clean lane crossings at near-right angles, and an AIS/radar-informed picture when equipped. COLREGS narrow-channel concepts matter in constricted passes, and restricted-visibility conduct matters in fog; neither is theoretical when a ship is doing 15+ kt and you’re making 6 kt on a good day.
A few common mistakes are painfully repeatable. People cross lanes diagonally because it “feels shorter,” then spend 20 minutes sitting in front of fast traffic. Others call on VHF like it’s a magic wand, then forget that the rules still apply and that not every vessel is obliged to answer you because you’re nervous.
Border logistics need scheduling too. Plan your first Canadian port for reporting, arrive with daylight, and expect 15–60+ minutes for the process in peak season. Don’t push into an anchorage at dusk because customs took longer; the rocks here have been in place for a long time, and they’re not moving for your itinerary.
Frequently Asked Questions
For a 35 ft sailboat with a 5 ft bow height anchoring in 35–50 ft at high tide, what rode length is required for 5:1 vs 7:1 scope when the tide range is 10–15 ft?
Use scope = (depth at high water + bow height) × ratio, then sanity-check swing room for reversing currents. If you’re anchoring in 35–50 ft at high tide with 5 ft bow height, your working depth is 40–55 ft. At 5:1, that’s 200–275 ft of rode; at 7:1, it’s 280–385 ft. The 10–15 ft tide range matters because if you arrive near low water, your sounder can fool you into under-scoping unless you plan for the upcoming rise.
How do you time a Deception Pass transit using current tables when peak flow is 6–9 kt, and what is a practical abort plan if you arrive late to slack?
Start by selecting the correct current station for Deception Pass and plan to arrive near slack with a favorable set, because peak currents of 6–9 kt leave little margin. Stage close enough that your final approach is 15–30 minutes, not a full hour of uncertainty, and verify timing on the water by watching SOG and visible rip lines. Your abort plan is simple: if you’re early, wait in a safe holding area with room and depth; if you’re late and the pass is building, turn around while you still have control and a clear turn basin, then wait for the next slack rather than forcing max flow.
When crossing Boundary Pass/Haro Strait, how should you adjust your departure if the forecast is 18–22 kt and the current will oppose your course for the first 2 hours?
Treat 18–22 kt with opposing current as a yellow-to-red flag, because sea state steepens quickly in constrictions. If you can’t avoid the leg, shift the departure to reduce the “wind-against-current” overlap: either leave earlier to get through the exposed section before the wind peaks, or wait to align with a favorable current for the first 2 hours. If neither is possible, pick a more protected route, shorten the leg, or plan a bailout, because comfort and control margins drop fast when the current is against you.
What are the most common AIS/shipping-lane crossing mistakes near Admiralty Inlet, and how do COLREGS narrow-channel and restricted-visibility rules change your watchstanding?
The big mistakes are crossing at a shallow angle (lingering in the lane), changing speed/course repeatedly, and assuming a VHF call transfers responsibility. Cross at near-right angles when practical, keep movements predictable, and use AIS as an aid—not a substitute—for lookout and judgment. In restricted visibility, COLREGS expects safe speed, sound signals, and heightened watchstanding; in narrow-channel-like constrictions, you should avoid impeding vessels that can only safely operate within the channel, which often means you wait and cross cleanly rather than “sneaking” across their bow.
What are the key differences in required safety equipment between USCG carriage rules (33 CFR 175 and related) and Transport Canada Small Vessel Regulations for a WA-to-Gulf Islands cruise?
USCG rules (including 33 CFR 175) set baseline U.S. carriage: properly sized wearable PFDs for all aboard, plus required visual distress signals, sound-producing device, and other context-dependent gear. In Canada, Transport Canada’s Small Vessel Regulations apply and may differ in specifics around flares, signaling, and compliance details for lifejackets/PFDs and other required equipment. The practical approach for a WA-to-Gulf Islands cruise is to carry compliant PFDs for everyone, maintain current flares/signals that satisfy both contexts, and verify your navigation lights meet USCG expectations and ABYC A-16 best practices—because fog and night operation are common regardless of jurisdiction.
About the Author
Related Articles
Sailing Amalfi Coast Guide: Ports, Anchorages & Rules
Sailing Amalfi Coast guide to Capri, Positano & Amalfi: best ports, anchorages, fees, VHF and rules. Plan your route—read now.
By Breezada Team
Dry Tortugas Sailing: Routes, Anchoring & Permits
Plan Dry Tortugas sailing from Key West with routes, weather windows, anchoring/moorings, and permits. Read the guide and plan your trip.
By Breezada Team
Sailing Galapagos Islands: Permits, Costs & Rules
Understand sailing Galapagos Islands permits, costs, and rules—plus clear-in steps, routes, and biosecurity. Plan your yacht trip now.
By Breezada Team
La Maddalena Sailing Itinerary: Quiet 7-Day Sardinia
Plan a La Maddalena sailing itinerary for a quiet 7-day Sardinia escape—routes, anchorages, rules and costs. Get the full day-by-day plan.
By Breezada Team