Man Overboard Recovery Under Sail: Quick-Stop vs Figure-8
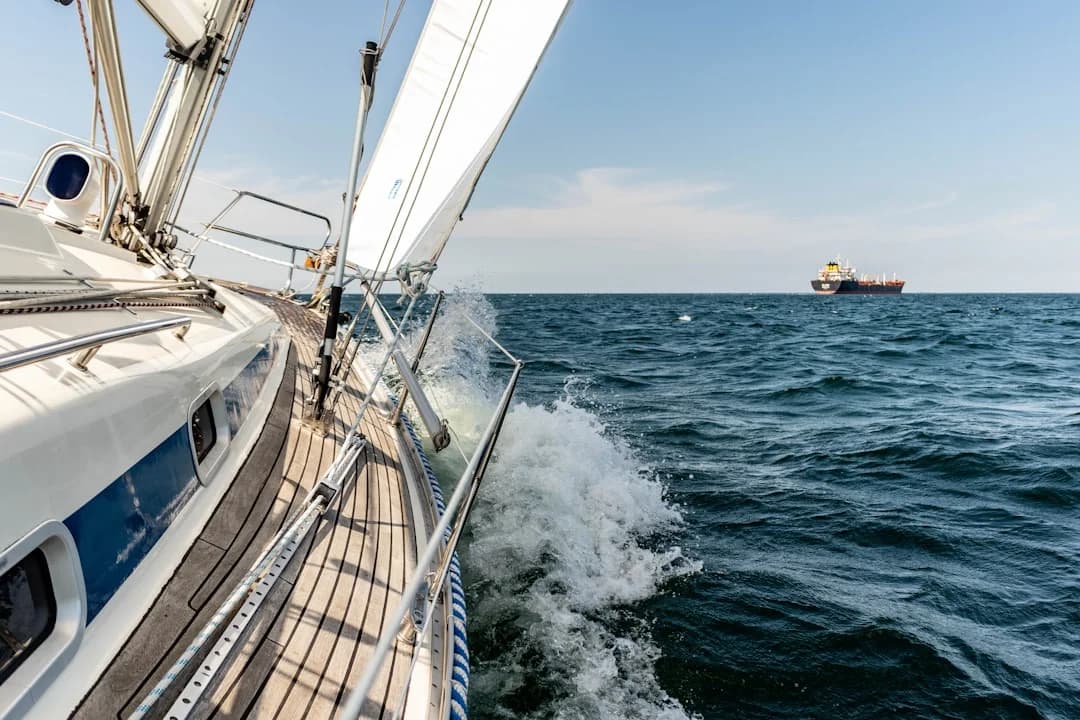
MOB Recovery Under Sail: Quick-Stop vs Figure-8
Man overboard recovery under sail is a boat-handling problem and a deck-evolution problem. The turn-back gets you back near the casualty; the retrieval gets them back aboard. If you only practice the pretty maneuver, you’re rehearsing the least important half.
Photo by Michael Held on Unsplash
MOB Under Sail: Priorities, Roles, and the First 60 Seconds
The non-negotiables: stop separation, mark, and float
Your prime directive is simple: keep the person in sight and stop the boat from making distance. In the first 5–10 seconds, shout “Man Overboard,” point continuously, and assign a dedicated spotter who does nothing else. Then hit the MOB button on the GPS/plotter so you get an instant waypoint, bearing, and range.
Throw flotation immediately—every time—even if the casualty is wearing a PFD. A Type IV throwable must be readily accessible on boats ≥16 ft under USCG carriage requirements, and “accessible” doesn’t mean “somewhere near the barbecue tools.” Extra buoyancy buys time, but the real win is visibility: a white ring, cushion, or dan buoy is easier to reacquire than a head in chop.
Crew roles that prevent a second MOB
Most MOB drills ignore the second most likely casualty: the rescuer who gets excited and unclips. If anyone leaves the cockpit in breeze or waves, they clip in—period—using jacklines that are typically 1–2 in (25–50 mm) webbing, with 2 in (50 mm) low-stretch webbing common offshore to reduce rolling underfoot. In a real event, you’ll see people move fast, step high, and forget they’re on a moving roof.
Call roles out loud: spotter (eyes only), helm (maneuver), thrower (float/sling), and retrieval lead (tackle/ladder). If you’re shorthanded, combine jobs deliberately; don’t improvise three competing priorities at once. The spotter’s finger should be pointing until the casualty is physically attached to the boat, not until you “feel close.”
Why speed-to-action matters more than “perfect” sailing
At 6 knots, you travel about 180 m (590 ft) per minute; at 7 knots, it’s 216 m (709 ft) per minute. A 30–90 second delay turns into 90–324 meters of separation before you even start doing the right thing. That’s why good crews measure time-to-button, time-to-throwable, and time-to-return instead of arguing about which turn looked nicer.
Cold water adds a nasty clock. Cold shock can hit in about 1 minute, and functional swimming failure can occur within roughly 10 minutes in cold conditions per common SAR/RNLI/USCG guidance. Your sail-handling elegance doesn’t matter if you’re still debating the perfect tack while the casualty is losing grip strength.
Practical tip: In drills, set a timer and shout the splits: “Button—5 seconds. Throwable—12 seconds.” The crew will hate it for two sessions, then you’ll get fast.
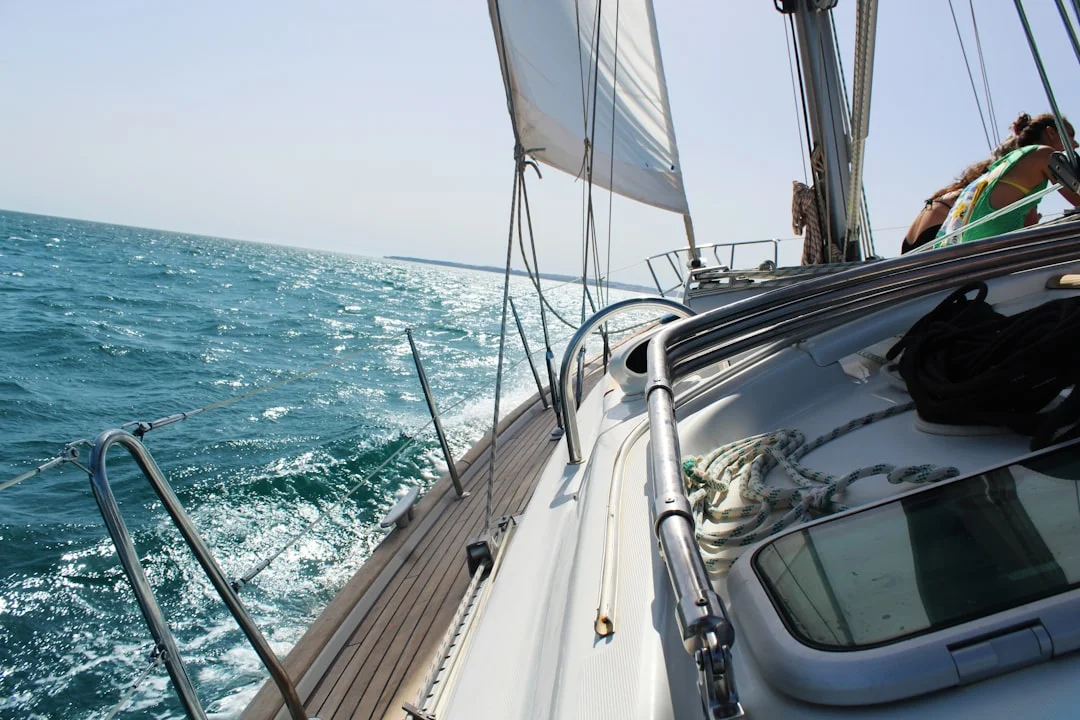
Photo by Little John on Unsplash
Quick-Stop / Heave-To MOB Recovery Under Sail (Step-by-Step)
Core Quick-Stop sequence (and why it works)
The Quick-Stop is my default because it prioritizes separation control over geometry. It works especially well when you can heave-to cleanly and “park” at ~0.5–2.0 knots, which is slow enough to keep the scene contained but fast enough to keep steerage and stability. If your boat heaves-to politely, it’s one of the most forgiving ways to keep the MOB near.
Use this as a repeatable numbered checklist—not a vibe:
- Shout/point/assign spotter; press MOB on GPS/plotter immediately.
- Immediate tack (or jibe, depending on point of sail) to reduce separation.
- Back headsail + ease main to heave-to and slow/park the boat.
- Set up to approach on a close reach to leeward of the casualty.
- Final luff/neutralize to stop alongside with minimal speed.
A benchmark that’s actually useful: after the initial tack and backing the headsail, aim to be within ~1–2 boat lengths downwind/leeward. In the real world, with reaction delay and inertia, 2–5 boat lengths is common—and that’s still workable if you didn’t lose visual.
Variations by point of sail: close-hauled, beam reach, and running
From close-hauled, an immediate tack is usually fast and controlled. You tack, back the headsail as it fills on the wrong side, ease the main until speed drops, and use rudder angle to balance. In 15–25 knots, do less with the sails than you think; over-trimming is how you keep charging away from your own emergency.
From a beam reach, the boat is often doing its best work—read: it’s making distance quickly. The Quick-Stop still works, but you must commit instantly, because every 10 seconds at 7 knots is roughly 36 meters gone. Tack now, not after the next brilliant thought.
From a run, many boats will punish you for an immediate tack with an ugly accidental jibe risk or a tangled boom. A controlled jibe may be safer if it keeps the rig intact and the crew upright, but call it clearly and get hands off the vang traveler drama. Your goal is not to win a race; it’s to stop the separation and set a leeward approach.
Parking the boat: controlled heave-to and drift management
“Heaving-to” isn’t one setting; it’s a balance of backed headsail, eased main, and rudder angle. Expect ~0.5–2.0 knots of sideways-and-forward drift depending on hull shape, sea state, and how reefed you are. The drift is not failure—it’s your stabilized work platform for the Lifesling, tackle, and a plan.
Common errors are painfully consistent: someone stops pointing, someone trims in because the sails look “wrong,” and the helm tries to make the boat look pretty instead of making it slow. If you heave-to and still see 3–4 knots, you’re not parked—you’re merely confused at speed. Ease more main, keep the jib backed, and accept that the boat may crab sideways like it has a grudge.
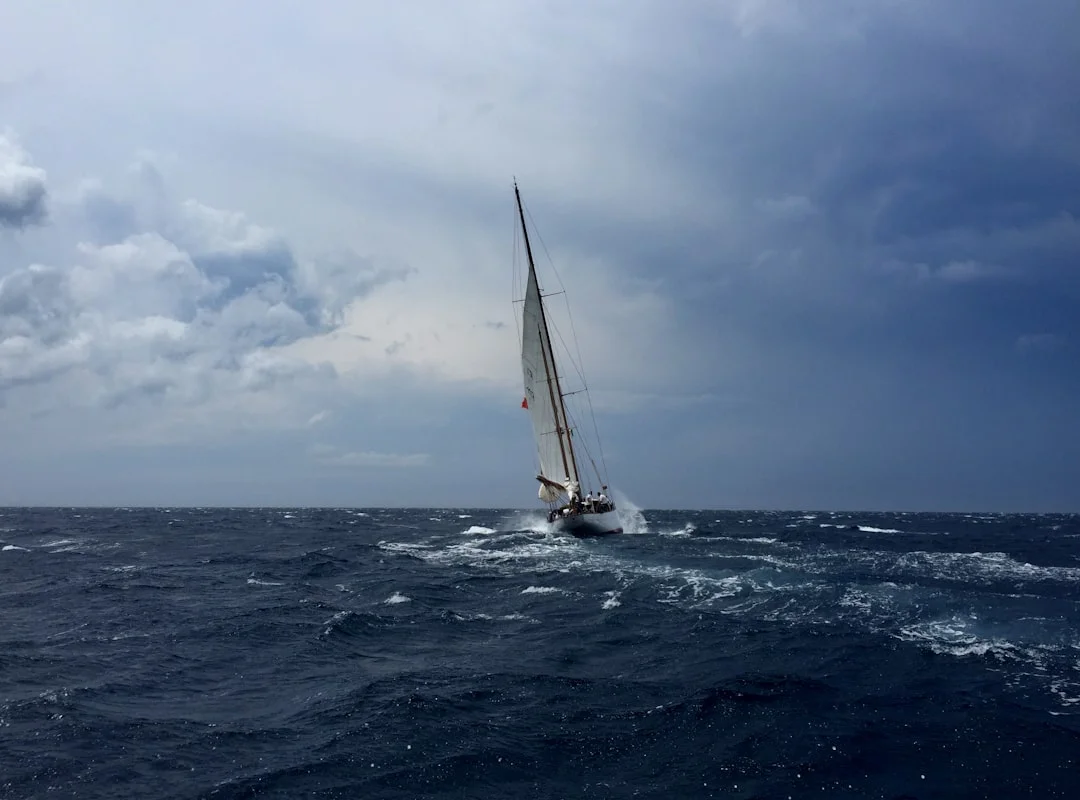
Photo by Boba Jovanovic on Unsplash
Figure-8 MOB Maneuver: Repeatable Geometry and When It Wins
The reach–tack–reach pattern (what you’re aiming to draw)
The Figure-8 MOB maneuver—often called the reach–tack–reach maneuver—is geometry-first seamanship. Instead of stopping early, you use reaching legs to preserve speed and steering, then return on a controlled close reach for the final approach. It’s not the Williamson turn (powerboat thinking); sailboats like stable apparent wind and predictable angles.
Use this core sequence as a drill script:
- Beam reach away from the casualty.
- Tack, then sail a tight reach-to-reach pattern.
- Return on a close reach toward the MOB.
- Approach from leeward, then luff to stop with MOB at shrouds/quarter.
Timing matters because speed punishes hesitation. At 6–7 knots, even a 60-second delay can add 180–216 meters of separation before your return leg starts to erase it. The figure you draw should be tight, not a sightseeing loop.
Conditions where Figure-8 outperforms Quick-Stop
Figure-8 shines when your boat doesn’t heave-to reliably, or when conditions make a sudden stop messy. Some fin-keel cruisers with big mains and small jibs “sort of” heave-to, but they skate at 2–3+ knots, which turns your parked platform into a slow-motion runaway. In that case, a powered, repeatable reach-based pattern often gets you back with more control.
It also works well when the apparent wind angle is already favorable, especially in moderate breeze where the boat handles cleanly and the crew can keep lanes and leeway consistent. In 18–25 knots with reefs in, the figure-8 can feel safer because you’re not asking the boat to do a dramatic stall; you’re asking it to do what it already wants to do—reach.
Common geometry mistakes and how to correct them
The classic mistake is sailing the “8” too big because nobody wants to tack aggressively. Bigger turns waste time, and time is distance: at 7 knots, every 30 seconds is about 108 meters. Keep the first reach short, tack crisply, and commit to a tight return that sets up a clean leeward final lane.
The second mistake is returning too hot and overshooting, which tempts crews into circling close—a great way to lose sight in chop and to put the boat where you don’t want it. If you’re fast, you didn’t fail; you just need to convert speed into control earlier by easing main, feathering up, and arriving at ~1–3 knots in the last 1–2 boat lengths.
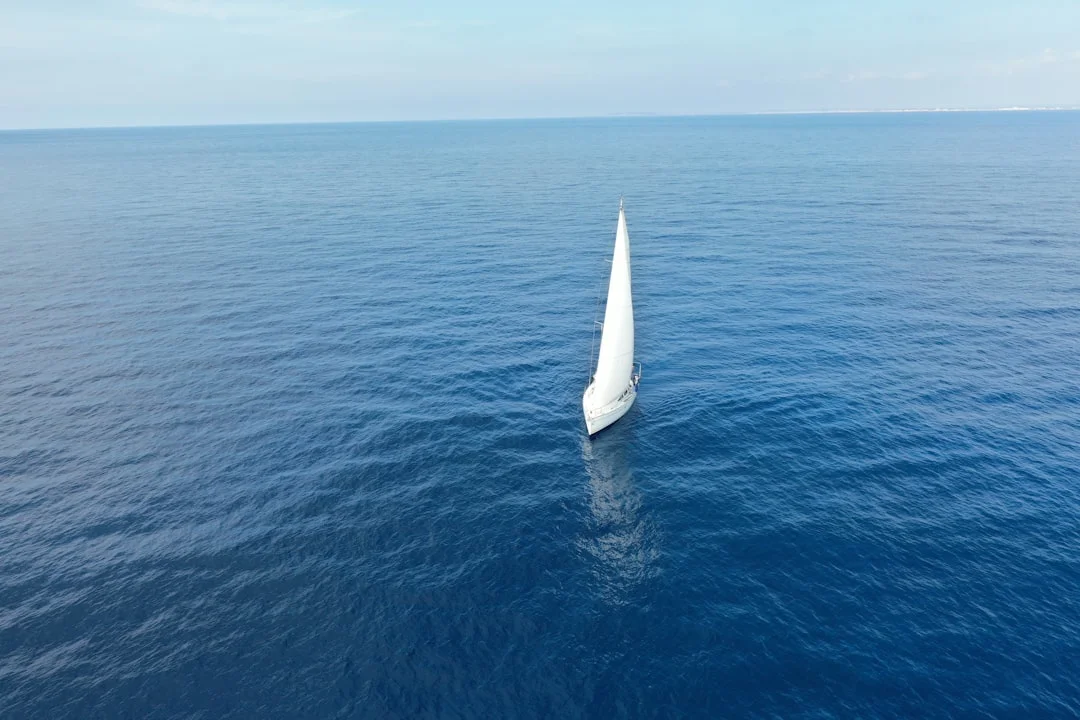
Photo by Jacob Meissner on Unsplash
Approach Geometry, Speed Control, and Engine Risk Near the Casualty
Leeward vs windward approach: the safety tradeoffs
Approach from leeward whenever you can. With wind on your back relative to the casualty, your sails can be blanketed and you’re less likely to blow down on top of them. A leeward approach also reduces the chance you drift over the MOB while you’re sorting lines, because the wind is trying to separate you, not marry you.
A windward approach can work, but it’s a higher-wire act. The boat wants to drift down onto the casualty, which means your stopping control must be sharp and your speed management disciplined. If you’re practicing in flat water, windward approaches can feel tidy; in real waves, they can turn into an unplanned contact sport.
Stopping the boat under sail at the final 2 boat lengths
Use a simple “final approach gate”: aim to arrive on a close reach that naturally becomes a luff-to-stop. You want the MOB near the shrouds or quarter, not under the bow where you can’t see and can’t reach. The target speed band is ~1–3 knots in the last 1–2 boat lengths, enough for rudder authority but slow enough to avoid impact injury.
Minimum speed for steerage is boat-dependent, and you should know yours. Many cruisers get mushy below about 1 knot, especially in chop, so don’t try to arrive at zero speed from 20 meters out. Arrive with control, then luff decisively and let the boat settle while the spotter talks the helm in: “Ten meters… five… keep coming… stop.”
If/when to start the engine without creating prop hazard
Sail-only is cleanest near a person in the water because props are unforgiving and swimmers are soft. Still, engines can help in light air, strong current, or when you need immediate control in traffic. My rule is simple: if you’ll need the engine, start it early, before you are close and rushed.
Then create a hard “prop-avoidance zone” in your procedure:
- Shift to neutral well before entering the casualty’s arc.
- Never reverse toward the MOB, even “just a little.”
- Keep the MOB forward of the beam when the engine is engaged.
- Assign one crew to watch astern and enforce the neutral call.
Even in an emergency, COLREGS still applies. Rule 5 (look-out), Rule 7 (risk of collision), and Rule 2 (responsibility) matter when you’re doing odd maneuvers near a shipping lane. If you need a quick distance check for drift planning or to brief a nearby vessel, calculate the distance between ports for sanity-checking miles and timing under pressure.
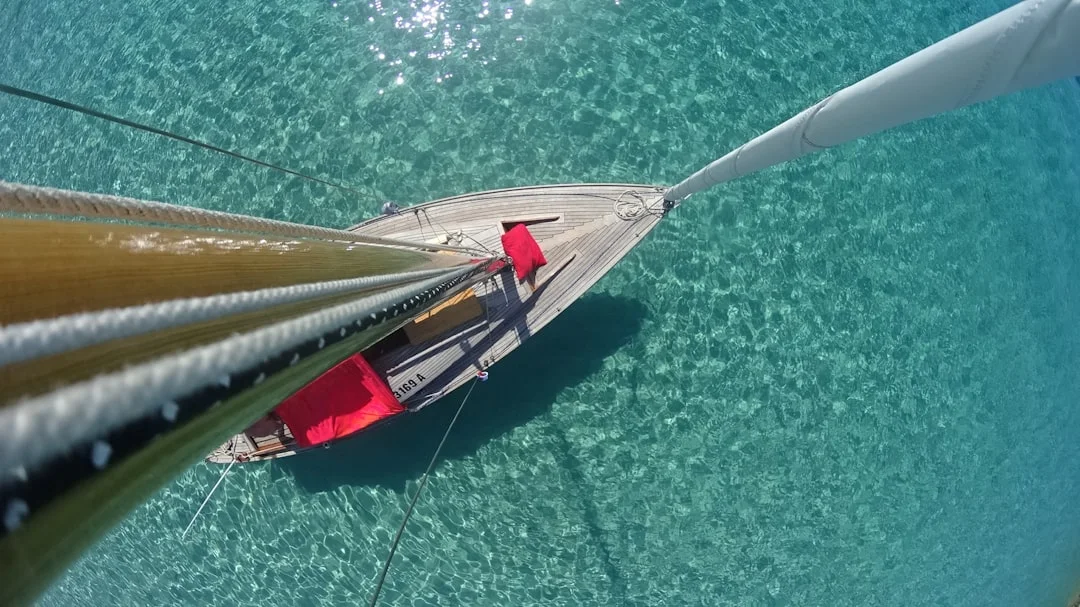
Photo by Franz Schmitt on Unsplash
Getting the Person Back On Board: Lifesling, Purchases, and Freeboard Solutions
Contact first: securing the casualty without losing them again
Returning alongside is only halftime. In real incidents, crews “find” the MOB and then lose them again because nobody gets a physical connection quickly. Your first objective is attachment: sling, loop, or line secured to the person or their harness before you start debating hoist strategy.
If they’re conscious, talk them through: keep face clear, conserve energy, and get arms through the sling. If they’re not responsive, you’re now running a recovery, not a rescue swim meet, and you need mechanical advantage and a plan that doesn’t require them to help. Expect the effective hoist load to exceed 100–150 lb (45–68 kg) and feel worse due to water drag.
Lifesling circle-and-retrieve under sail (line management and radius)
A Lifesling-style system with a ~150 ft (46 m) line is built for a reason: you can circle without driving directly at the casualty. Deploy early, keep the line clear of winches and cleats until you choose the lead, and make a controlled circle at modest speed so the sling trails predictably. If your circle is too tight at too much speed, the line will behave like it has its own opinions.
Once the casualty has the sling, “reel” them toward a stern quarter by trimming the line steadily, not jerking it like you’re setting a hook. Keep the boat moving just enough for steerage—often around 1–2 knots—and keep them out of the keel/prop zone. This is where a heave-to platform can be gold, because it reduces chaos and keeps the line from sweeping under the boat.
Practical tip: Before you leave the dock, flake the Lifesling line so it runs cleanly. The best time to discover a knot in the bag is not while someone is shouting your name.
Hoisting realities: tackle ratios, friction losses, and attachment points
Plan on 4:1 to 6:1 mechanical advantage for most crews. A 6:1 theoretically reduces pull force to about 1/6 of the load, but real-world friction often eats ~20–40% depending on block quality, lead angles, and whether the line is sawing around a stanchion base. That’s why “it should work on paper” is not a rigging plan.
Use strong points that are meant for load. ABYC H-41 covers reboarding means, and ABYC H-40 addresses strong points and attachment considerations—both worth checking against your boat’s actual hardware and backing. A padeye with a tiny backing plate might hold a fender; it may not hold a dynamic hoist of 150 lb+ in waves.
High freeboard and unconscious-casualty options (parbuckle/halyard)
Freeboard is a quiet killer in MOB recovery. If your recovery point is more than 24–30 in (0.6–0.75 m) above the water, many unassisted reboarding attempts fail, especially in foul-weather gear. You need a designated low point: a stern scoop, a fold-down ladder, or a pre-rigged tackle to a winch.
For an unconscious casualty, plan a method that doesn’t rely on them climbing. A halyard hoist with a 4:1–6:1 purchase, or a parbuckle-style roll using a sail or heavy webbing, can get hips above lifelines with fewer dead-lift moments. Practice it with a 100–150 lb training dummy or a weighted sailbag, because the first real attempt should not be an engineering experiment.
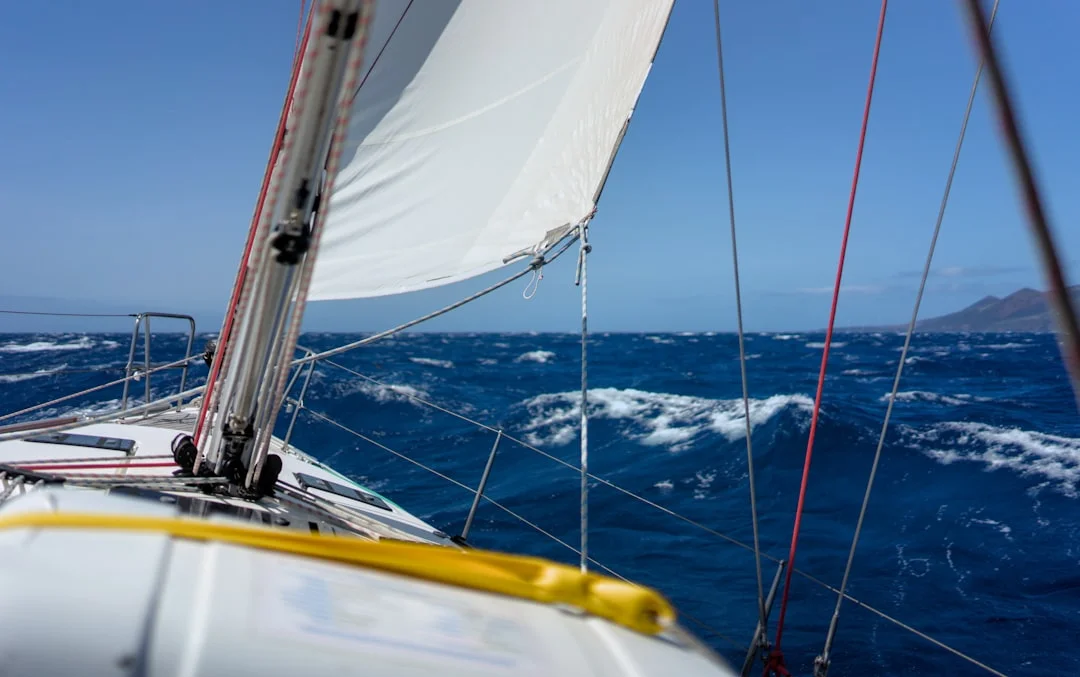
Photo by Benjamin Genz on Unsplash
MOB Electronics, Signaling, and Navigation: AIS/DSC Setup and Search Patterns
MOB button workflows on plotters and instrument integration
The MOB button is not a magic rescue switch; it’s a fast way to create a datum you can steer to under stress. A good setup shows bearing and range prominently, and it should be visible from the helm without menu-diving. On many networks, that waypoint can also propagate across displays via NMEA 0183 or NMEA 2000, but only if you’ve confirmed integration and alarm routing.
In drills, practice pressing MOB within 5 seconds and calling out the range every 10–15 seconds while maneuvering. If you lose sight, the MOB waypoint becomes the anchor point for a short search pattern instead of a widening panic spiral. If you want to sanity-check drift distance or brief a crew member on “how far we moved,” check the nautical miles for your planned route to translate minutes and speed into miles.
AIS MOB beacons and AIS+DSC: what alarms fire and where
AIS MOB beacons typically transmit on 161.975 MHz (AIS1) and 162.025 MHz (AIS2). On the plotter, you should see an AIS target with MOB identification, often with a distinctive icon and a screaming alarm. Models that add DSC can also send a distress alert on VHF Channel 70, following the DSC framework (commonly referenced under ITU-R M.493).
The practical question is not “does it transmit,” but “where will we hear/see it?” Verify which device alarms: the chartplotter, the AIS receiver, the VHF, or all three. Check AIS filters, CPA/TCPA settings, and whether “AIS SART/MOB” targets can be accidentally hidden by display preferences. A beacon that alarms on the wrong screen is like a flare stored at home: technically impressive, operationally useless.
Night/visibility aids: lights, strobes, and radar/plotter overlays
Night recovery is mostly an acquisition problem. Water-activated PFD lights in the $20–$80 range are cheap compared to your fuel bill, and they drastically increase the chance of reacquiring a head in chop. Add a strobe and a dan buoy with a light, and you’ve given your spotter something to actually spot.
If you have radar, learn what your MOB marker looks like—many don’t show well, and a lone person is basically radar-invisible. Your best combo is still a visible marker, a light, and an AIS target you’ve confirmed displays correctly. Don’t assume the system works because it powered on at the dock.
Route planning and distance-to-datum: avoiding search-area creep
If you lose visual contact, the scene grows fast. At 6 knots, a 1-minute delay is ~180 m, and current can push the casualty off your trackline while you’re busy doing “correct” sailing. Decide quickly when to stop maneuvering and start a short search: return to datum, then expand.
This is also where basic navigation habits help. Estimate wind-driven drift and current set, and keep updates in minutes, not vague guesses. If you’re calculating likely separation or planning a post-incident track for a report, estimate your fuel needs based on the voyage distance without mental math errors.
Real-World MOB Drills: Heavy Air, Cold Water, Shorthanded, and Debrief Metrics
Designing drills that match your sailing profile (reefed, night, offshore)
Run drills the way you actually sail, not the way you wish you sailed. Start in calm daylight, then progress to reefed conditions in 15–25 knots, then add limited visibility or night. Add one controlled variable at a time so you can tell what improved and what just got lucky.
Cold-water priorities should change your timeline and your PPE choices. If cold shock can hit in ~1 minute and swimming failure can follow within ~10 minutes, you train for faster marking and faster contact, not for artistic symmetry in the wake. This is also where 275N (ISO 12402-2) inflatables and good hood/thermal layers stop being “gear talk” and become survival margins.
Two- and three-person crew choreography (autopilot and tether rules)
Shorthanded crews need discipline more than heroics. Establish that one person is always the spotter, even if that means the autopilot steers briefly while the helm changes jobs. If someone leaves the cockpit, they clip in; jacklines and tethers exist to prevent the “MOB becomes MOBs” scenario.
In a two-person crew, the helm often must manage both the maneuver and sail trim, so simplify sail handling early. Reefed sails and a slightly underpowered boat are not a weakness here; they reduce drama and keep heave-to speeds in the ~0.5–2.0 knot range when you need a stable platform. The goal is repeatability, not bravado.
A metrics log that actually improves performance
If you don’t measure it, you’ll keep practicing your favorite mistakes. Log: time-to-button, time-to-throwable, time-to-return within 2–5 boat lengths, time-to-contact, time-to-hoist, and any “loss of sight” event. Run three attempts and record the best-of-3, because one ugly run is often a fluke and one perfect run is often luck.
A solid drill cadence is quarterly minimum for cruisers and monthly for active crews. Write a short debrief with two fixes you’ll implement next time, like moving the throwable to a better spot or pre-rigging a recovery tackle. The ocean is an honest instructor, but it charges by the hour and doesn’t accept excuses.
MOB Recovery Gear: What’s Required, What’s Recommended, What It Costs
Legal compliance is a floor, not a plan. The USCG Type IV throwable requirement for boats ≥16 ft is baseline; the difference between “carried” and “deployable in 10 seconds” is where outcomes change. Build your kit around fast marking, fast attachment, and a recovery station that matches your freeboard and crew strength.
| Gear category | Purpose | Key spec / standard | Typical cost (USD) |
|---|---|---|---|
| Type IV throwable (ring/cushion) | Immediate flotation + visibility | USCG required on boats ≥16 ft; must be “readily accessible” | $20–$80 |
| Dan buoy / MOB pole w/ flag + light | Visual datum, especially in waves | Lighted marker preferred for dusk/night | $120–$350 |
| Throwing line bag | First attachment tool at short range | 50–75 ft (15–23 m) common; longer throws reduce accuracy | $25–$80 |
| Lifesling-style recovery system | Circle-and-retrieve attachment | ~150 ft (46 m) line typical | $200–$350 |
| Rescue tackle / MOB hoist kit | Mechanical advantage for hoist | 4:1–6:1; friction losses ~20–40% | $150–$500 |
| Recovery ladder (stern/folding) | Low-point reboarding | Critical if freeboard >24–30 in (0.6–0.75 m) | $100–$400 |
| Inflatable PFD w/ harness | Keeps crew afloat + tether point | ISO 12402-3 (150 N) common | $120–$300 |
| 275N inflatable PFD/harness | Higher buoyancy for heavy clothing/offshore | ISO 12402-2 (275 N) | $250–$450 |
| Safety tether (double-leg) | Prevents MOB in the first place | 2-hook, $50–$150; match length to jacklines | $50–$150 |
| Jacklines | Clip-in path on deck | 1–2 in (25–50 mm) webbing common; 2 in offshore | $80–$250 |
| PFD light / strobe | Night acquisition | Water-activated light strongly recommended | $20–$80 |
| AIS MOB beacon (AIS-only) | Electronic target on plotter | AIS1 161.975, AIS2 162.025 MHz | $250–$450 |
| AIS + DSC MOB beacon | AIS target + DSC distress alert | DSC on VHF Channel 70 | $350–$600 |
| Professional MOB training | Real reps + coached debrief | 1-day on-water practical | $200–$600/person |
Frequently Asked Questions
For a 35–45 ft sloop at 6–7 knots, how many meters of separation accumulate during a 30–90 second delay, and how should that change Quick-Stop timing?
At 6 knots, you’re doing about 180 m/min, so 30–90 seconds equals roughly 90–270 meters. At 7 knots, it’s about 216 m/min, so 30–90 seconds equals roughly 108–324 meters. That’s why Quick-Stop timing is “now,” not “after we get organized,” and why you assign a spotter and throw flotation before anyone starts trimming sails like it’s Tuesday night racing.
In 18–25 knots with reefs in, what sail trim and rudder angles most reliably hold a heave-to “parked” speed of ~0.5–2.0 knots for recovery setup?
Start with a reefed main eased well out and a backed headsail that’s not over-trimmed; too much jib sheet tension often drives the bow off and increases speed. Use a firm, steady rudder angle—often 20–35° of helm depending on the boat—to balance the backed headsail against the eased main. If you’re still making 2.5–3+ knots, ease more main and consider reducing headsail area; heave-to works best when the rig is slightly underpowered.
What AIS message behavior and alarm routing should you verify when configuring an AIS+DSC MOB beacon (AIS1/AIS2 target on plotter plus DSC alert on VHF Channel 70)?
Verify three things at the dock: the beacon creates an AIS MOB/SART-type target on the plotter via AIS1 161.975 MHz and AIS2 162.025 MHz, the target is not filtered out by AIS display settings, and the alarm is loud and persistent on the helm display you actually use. Then confirm the DSC side: your VHF receives the DSC distress alert on Channel 70, and the alert is not suppressed by “quiet” modes or misrouted NMEA connections. Don’t assume interoperability across NMEA 0183/NMEA 2000; confirm with manufacturer docs and a real test routine.
How do you size and rig a 6:1 recovery purchase (including friction loss assumptions) to hoist a 45–68 kg casualty over lifelines without back injury or padeye failure?
Assume the effective load feels like 45–68 kg (100–150 lb) or more due to water drag, then design for higher than that because waves add dynamic load. A 6:1 purchase theoretically cuts pull force to ~1/6, but with ~20–40% friction loss, plan on needing closer to 1/4–1/5 of the load at the tail, especially with small-diameter line and tight leads. Attach only to properly backed strong points (and inspect them against ABYC H-40 concepts), lead to a winch when possible, and keep the hoist path clear of lifeline stanchions that can bend under side load.
What’s the safest under-sail procedure to deploy and use a 150 ft (46 m) Lifesling without crossing the line under the keel or losing steerage in waves?
Deploy early, keep the bag and bitter end controlled, and make a wide, steady circle at a speed that preserves steerage—often ~1–2 knots once you’re set up—so the 150 ft (46 m) line trails cleanly behind and to leeward. Keep the line out of the water near the bow and avoid tight turns that let it sweep under the keel; if you see the line drifting forward, slow down and widen the circle. Once the casualty has the sling, trim the line steadily to a stern quarter and keep the boat’s motion predictable; sudden luffs and sharp helm movements are how lines end up where you don’t want them.
If you want to make this training truly practical: pick one maneuver (Quick-Stop or Figure-8) as your default, then practice the other as your “boat doesn’t like heaving-to” backup. But spend at least half your drill time on retrieval—Lifesling contact, tackle setup, and getting a real weight over the lifelines—because that’s where the sea collects its overdue invoices.
About the Author
Related Articles

Sailing San Juan Islands: Routes, Tides & Moorings
Plan your sailing San Juan Islands trip with routes, tide tips, and moorings. Get the guide and chart your itinerary today.
By Breezada Team
How to Pick Up a Mooring Buoy: Med Mooring Tips
Learn how to pick up a mooring buoy with buoys & lazy lines, step-by-step. Get confident and dock faster—read the guide now.
By Breezada Team
Best Dinghy for Cruising Sailboat: Setup Guide
Learn the best dinghy setup for cruising sailboats—choose, equip, and stow it right. Read the guide and upgrade your tender today.
By Breezada Team
Sailing San Juan Islands Itinerary: 7 Days & Tides
Plan the perfect sailing San Juan Islands itinerary with a 7-day route, tide tips, and anchorages. Get the full day-by-day plan now.
By Breezada Team